
Room types
Standard and custom room types for your organisation
A room type classifies what a space is — Open office, Meeting room, Wet room. It decides how areas are coloured on a plan, how they group in statistics, and how they break down in exports, so it is the setting that turns a drawing into data you can report on.
Room types live under Settings → Organisation → Room types, split into two lists.
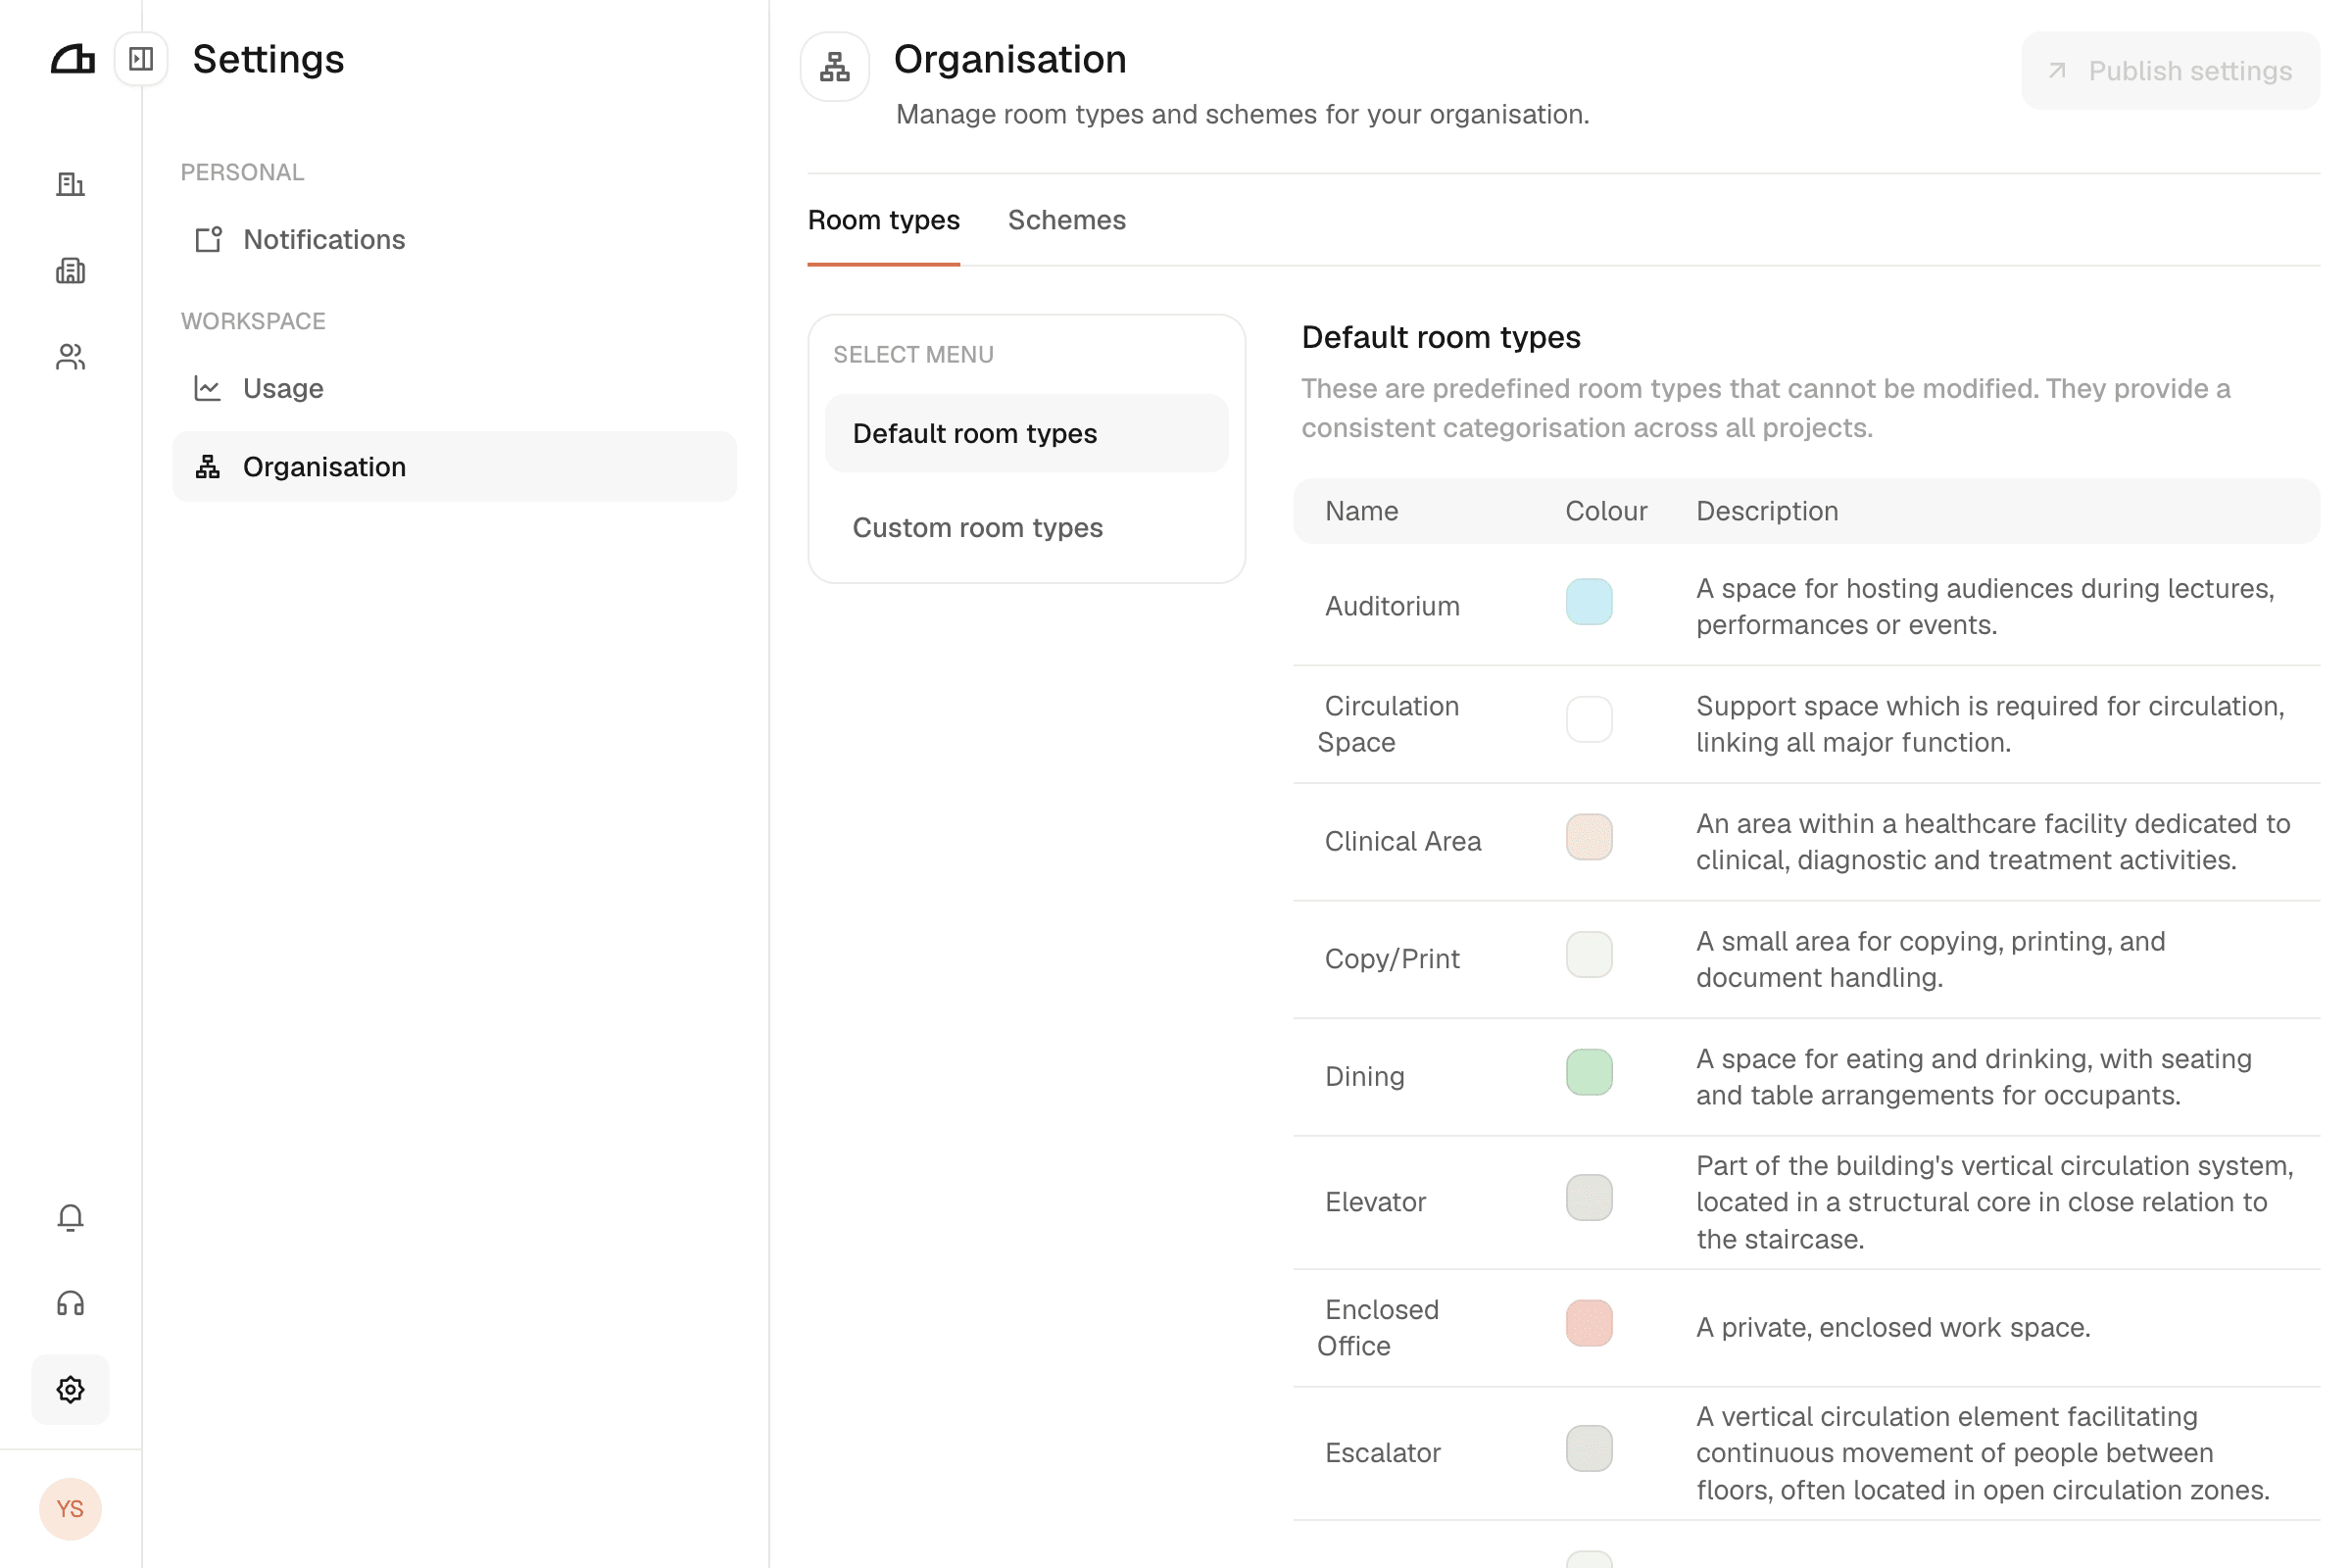
Default room types
The standard set Arealize ships with. These are predefined and cannot be modified — they give every project in every organisation the same baseline categorisation, which is what makes plans comparable across a portfolio.
Each one has a name, a colour, and a description. Browse them before creating anything custom: most workflows are covered already, and using the defaults keeps your data comparable with everyone else's.
Custom room types
Where the defaults do not match how your organisation talks about space, create your own. A custom room type has three parts:
| Field | What it does |
|---|---|
| Name | What the type is called. Must be unique. |
| Colour | How areas of this type are filled on the plan and in exports. |
| Replace default room type (Optional) | The default types this one stands in for. |
That third field is the powerful one, and the reason custom types are more than renaming. You can map several default types onto one custom type — so if Enclosed office, Open office, and Work room are all just "Workspace" to you, one custom type absorbs all three. Areas classified as any of them then report as Workspace, and your statistics collapse from three lines to one.
Leave it empty and the custom type simply exists alongside the defaults.
How to add custom room types
Open the custom list
Go to Settings → Organisation, stay on the Room types tab, and choose Custom room types from the menu on the left.
Add a row
Click Add new room type. A row appears, prefilled with a placeholder name
like New Room Type 1 and a grey #cccccc, and Publish settings activates.
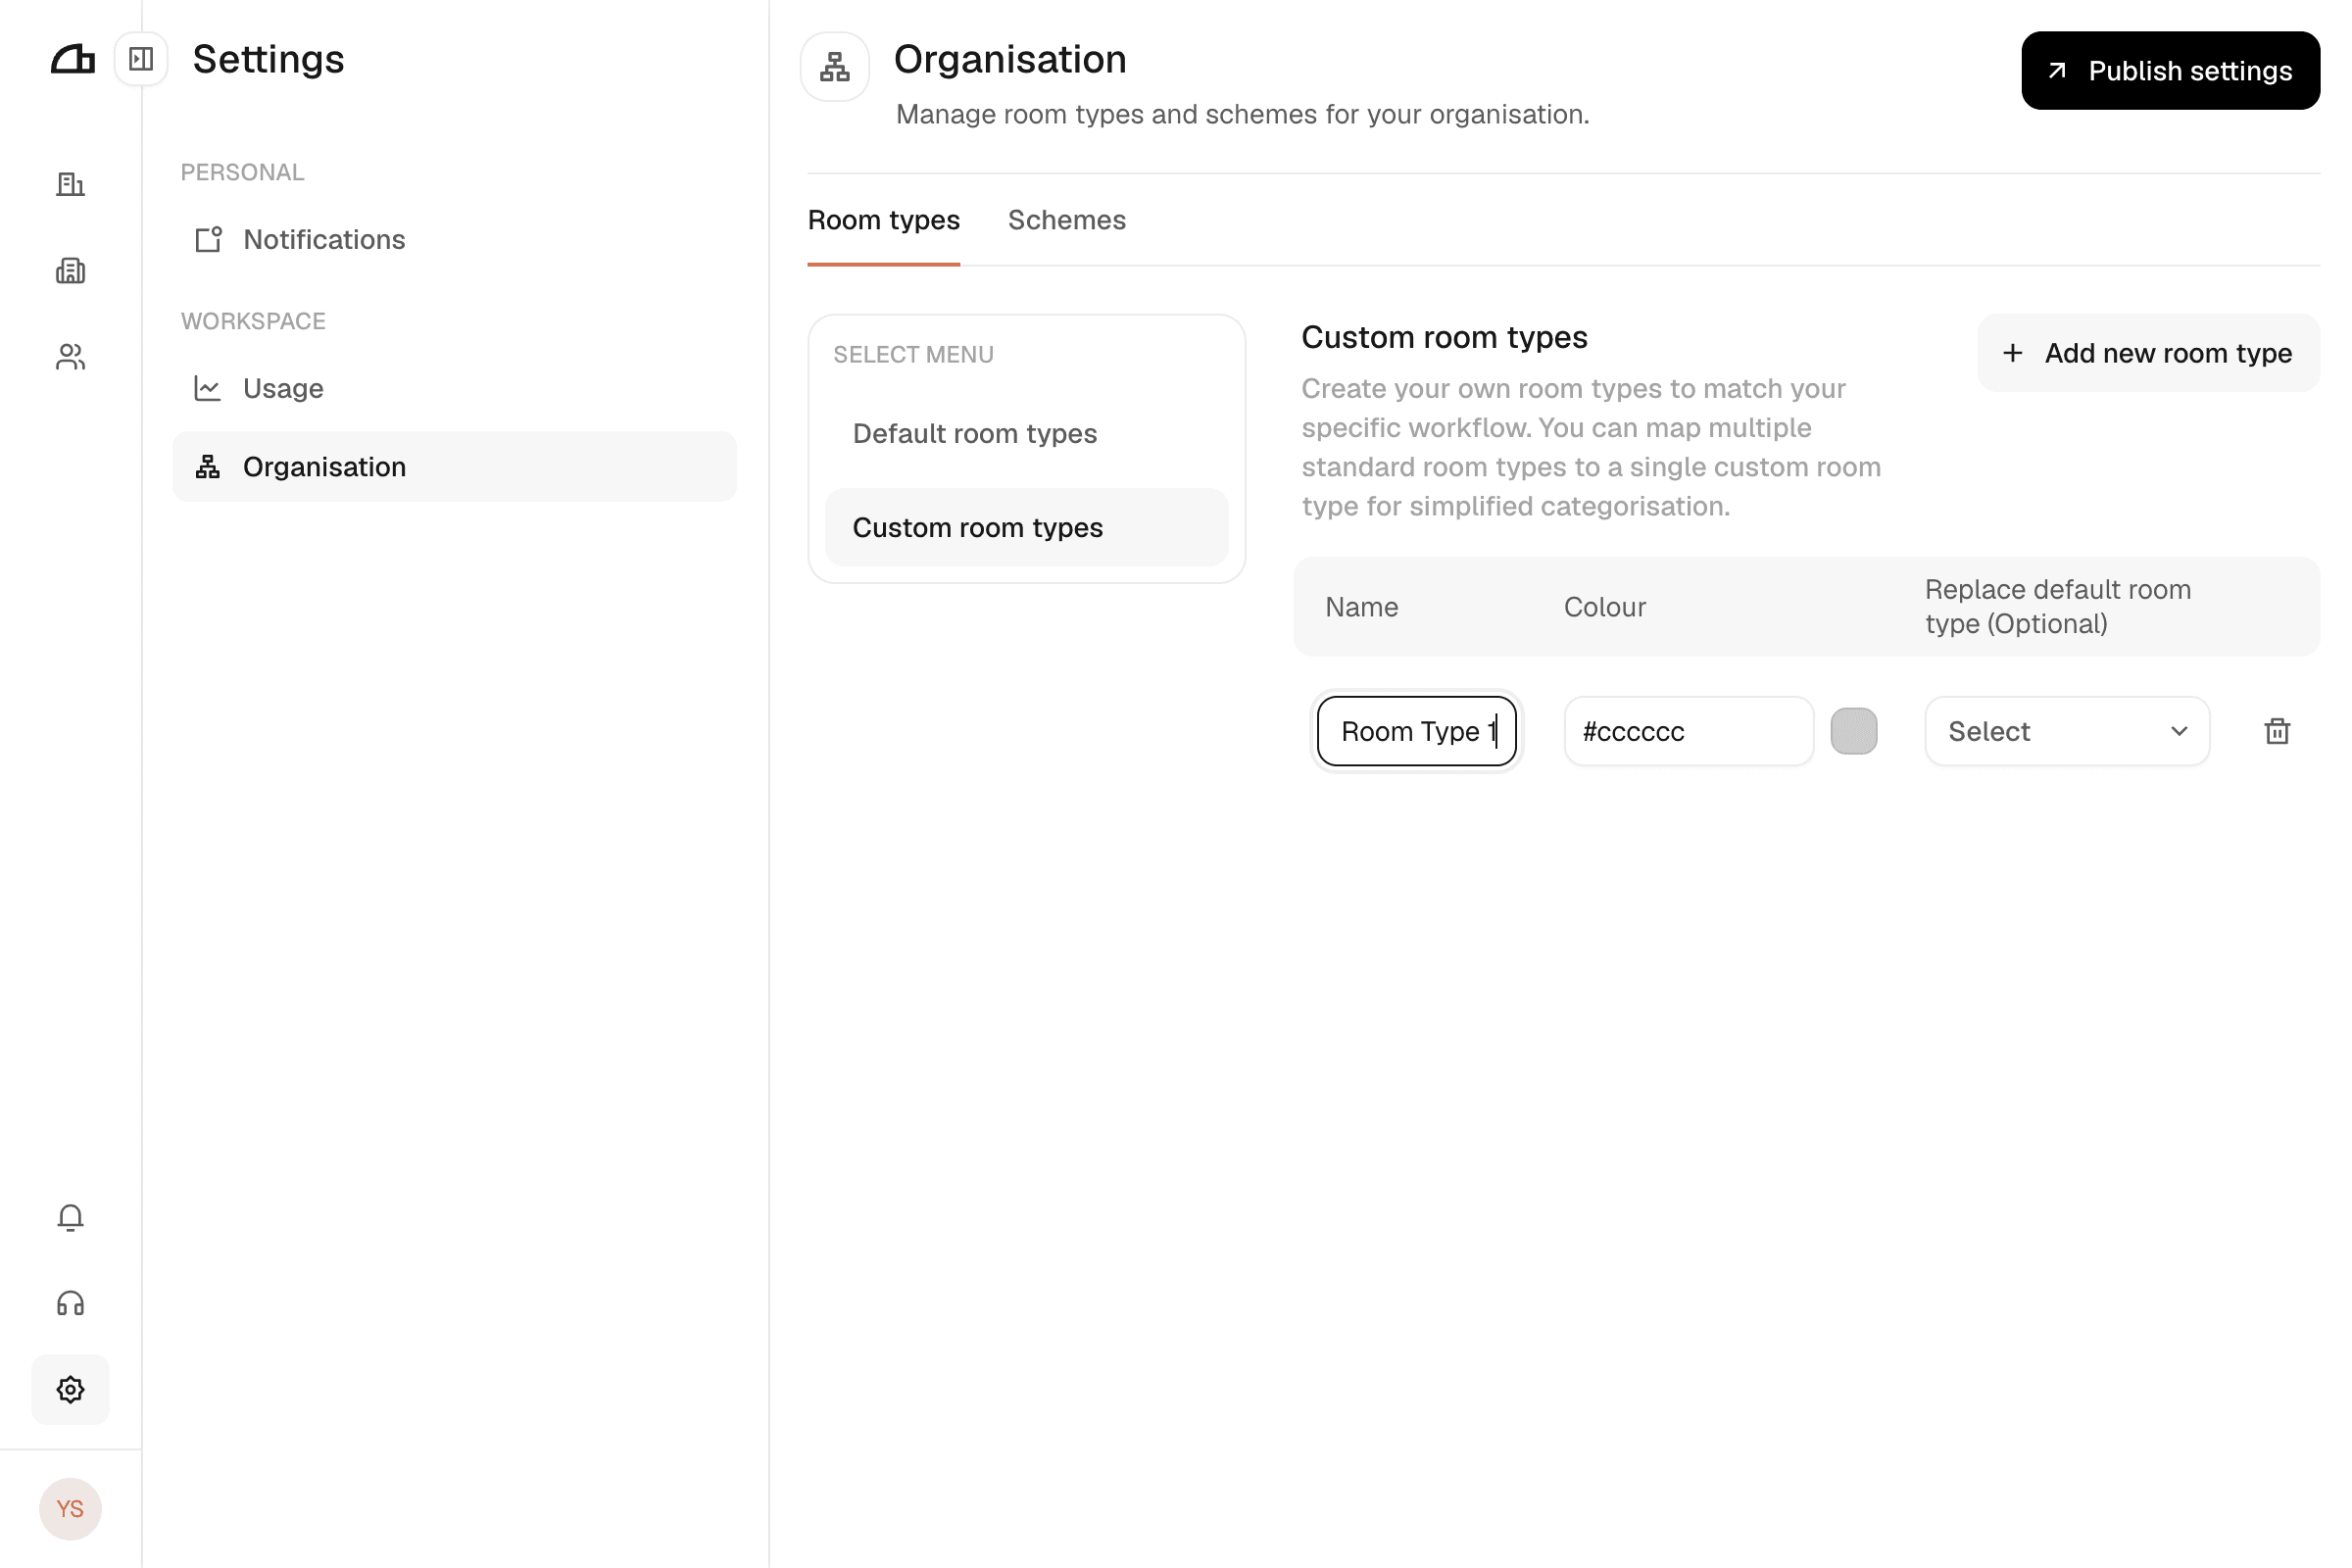
Name it
Replace the placeholder name. It has to be unique: a duplicate is rejected with Name already exists. An empty name gives Name is required. Publishing stays blocked until both are resolved.
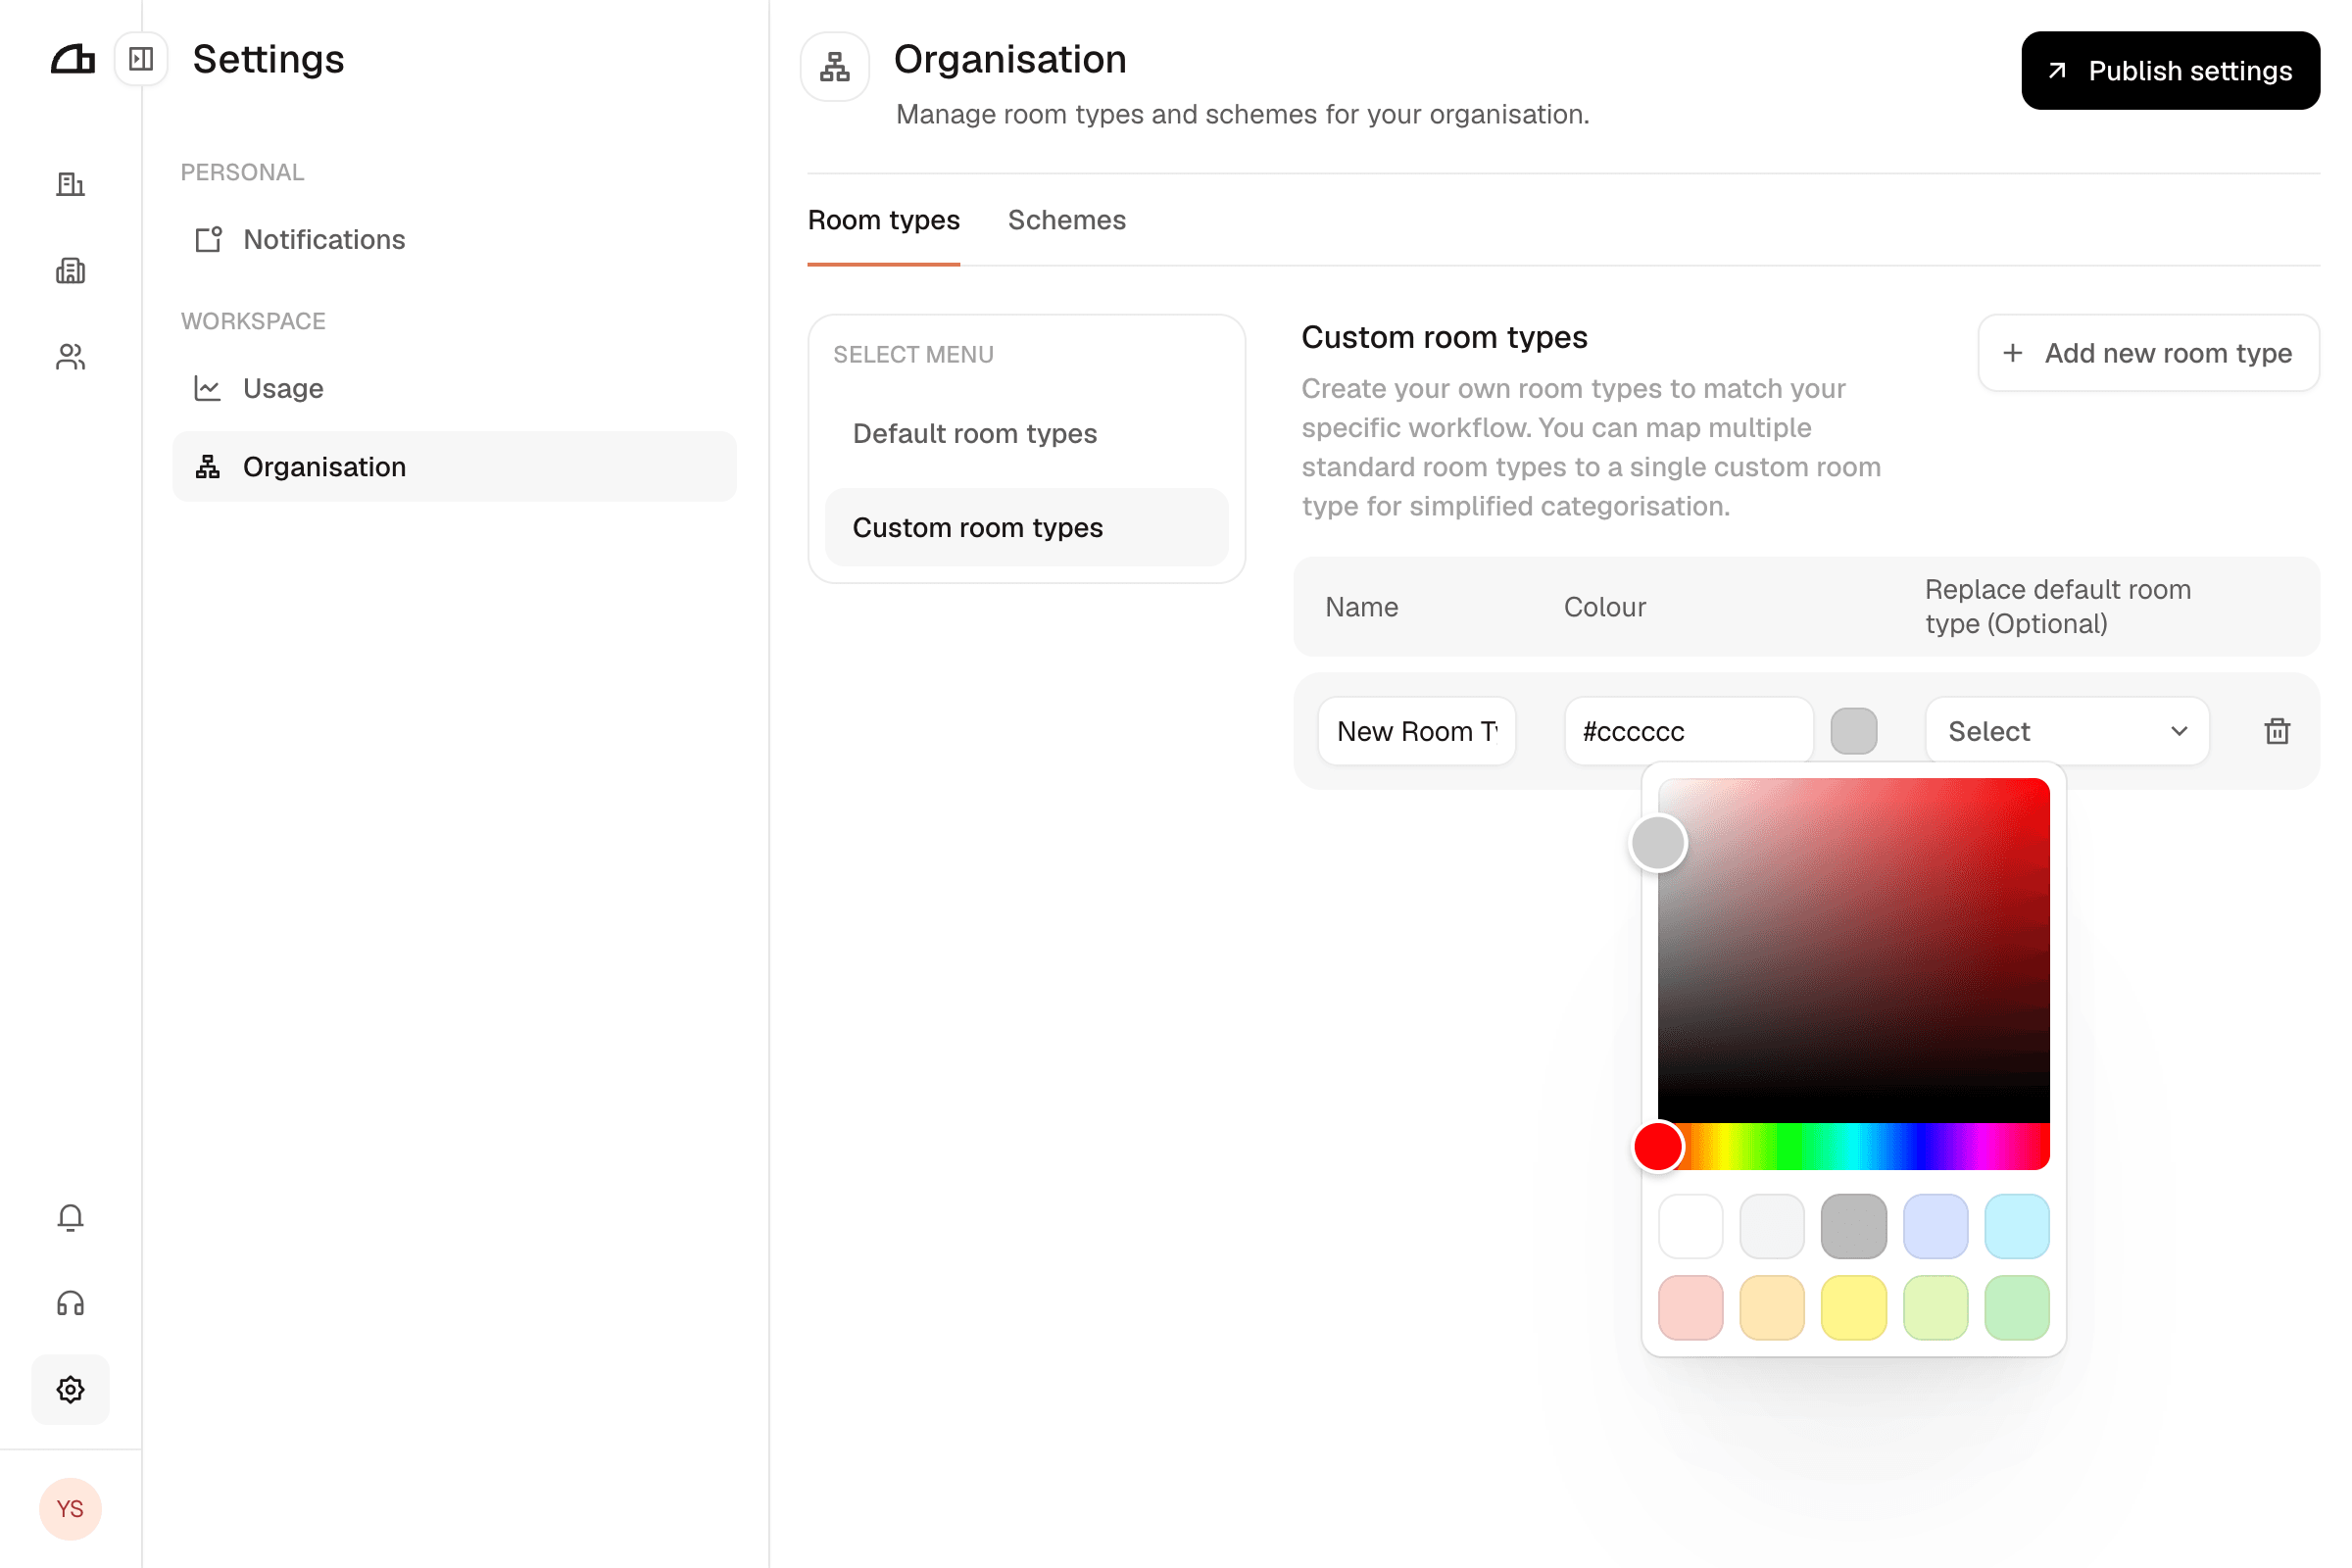
Pick a colour
Click the swatch to open the picker. Choose one of the preset colours, use the gradient and hue slider, or type a hex value into the field. This is the fill used wherever areas of this type are drawn, so pick something distinguishable from your other types — colours that sit close together make an exported plan hard to read.
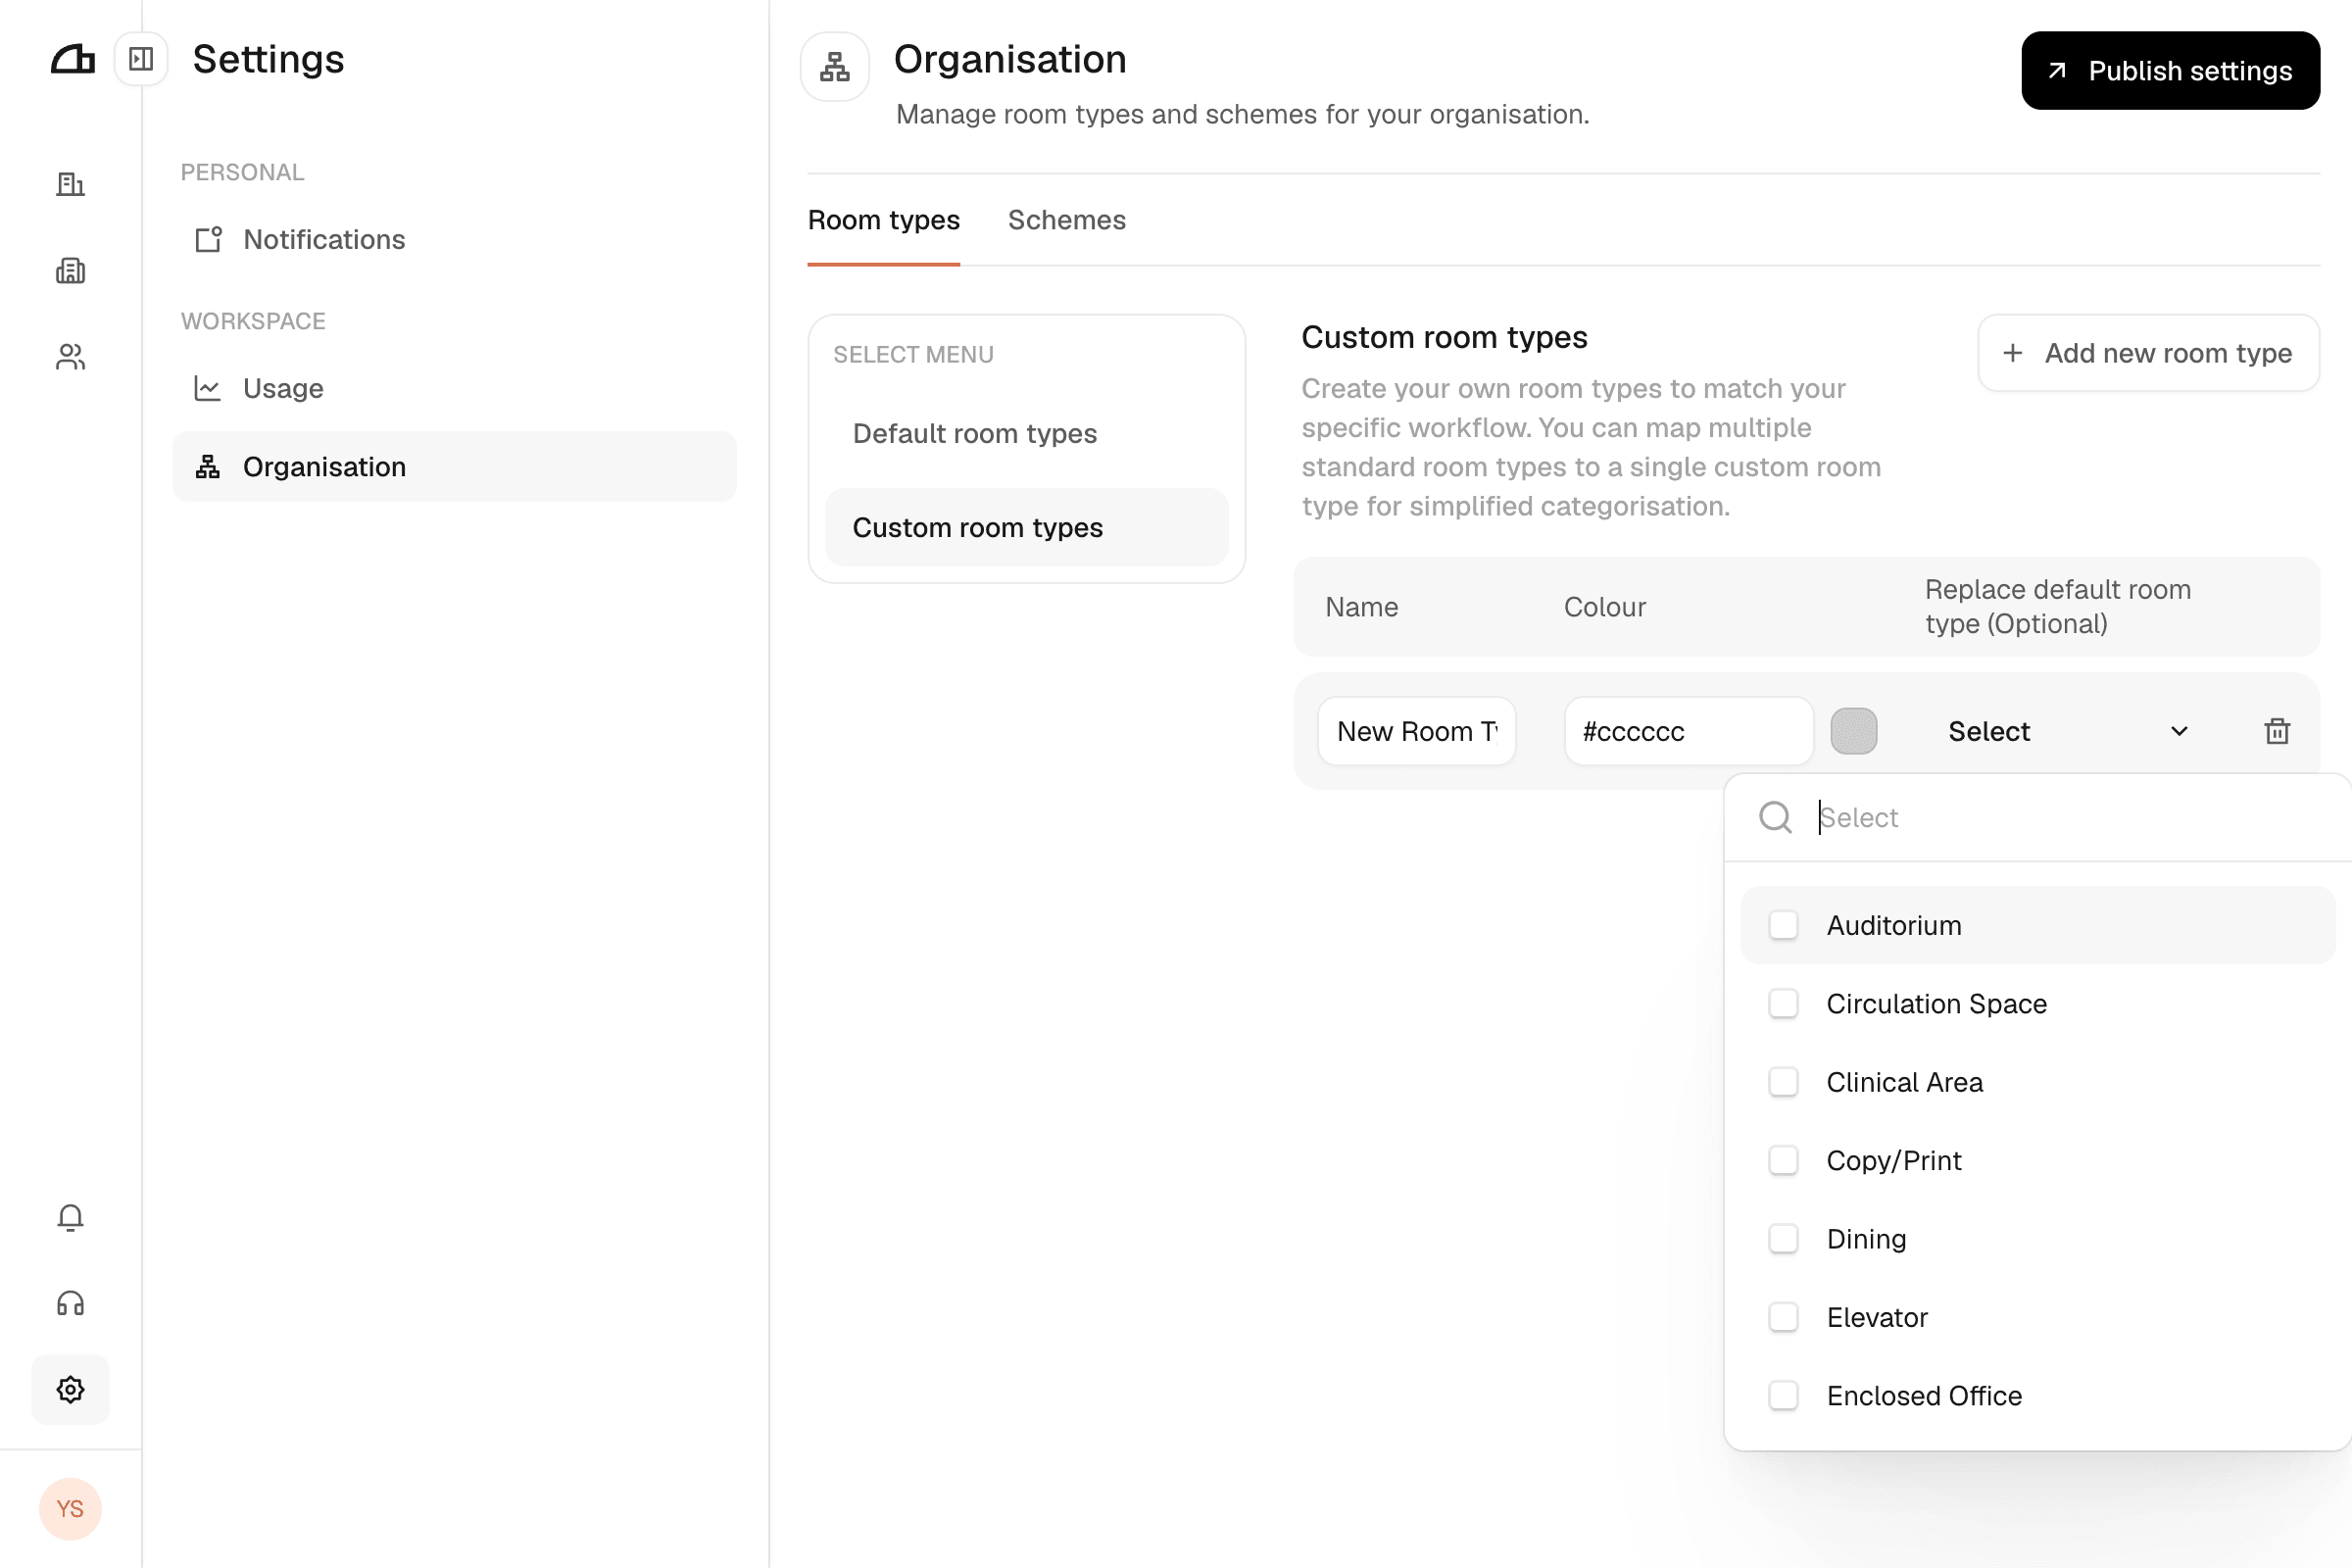
Map default types (optional)
Under Replace default room type (Optional), tick any default types this one should stand in for. Tick several to collapse them into this one type, or leave it empty. Use the search box if the list is long.
Publishing
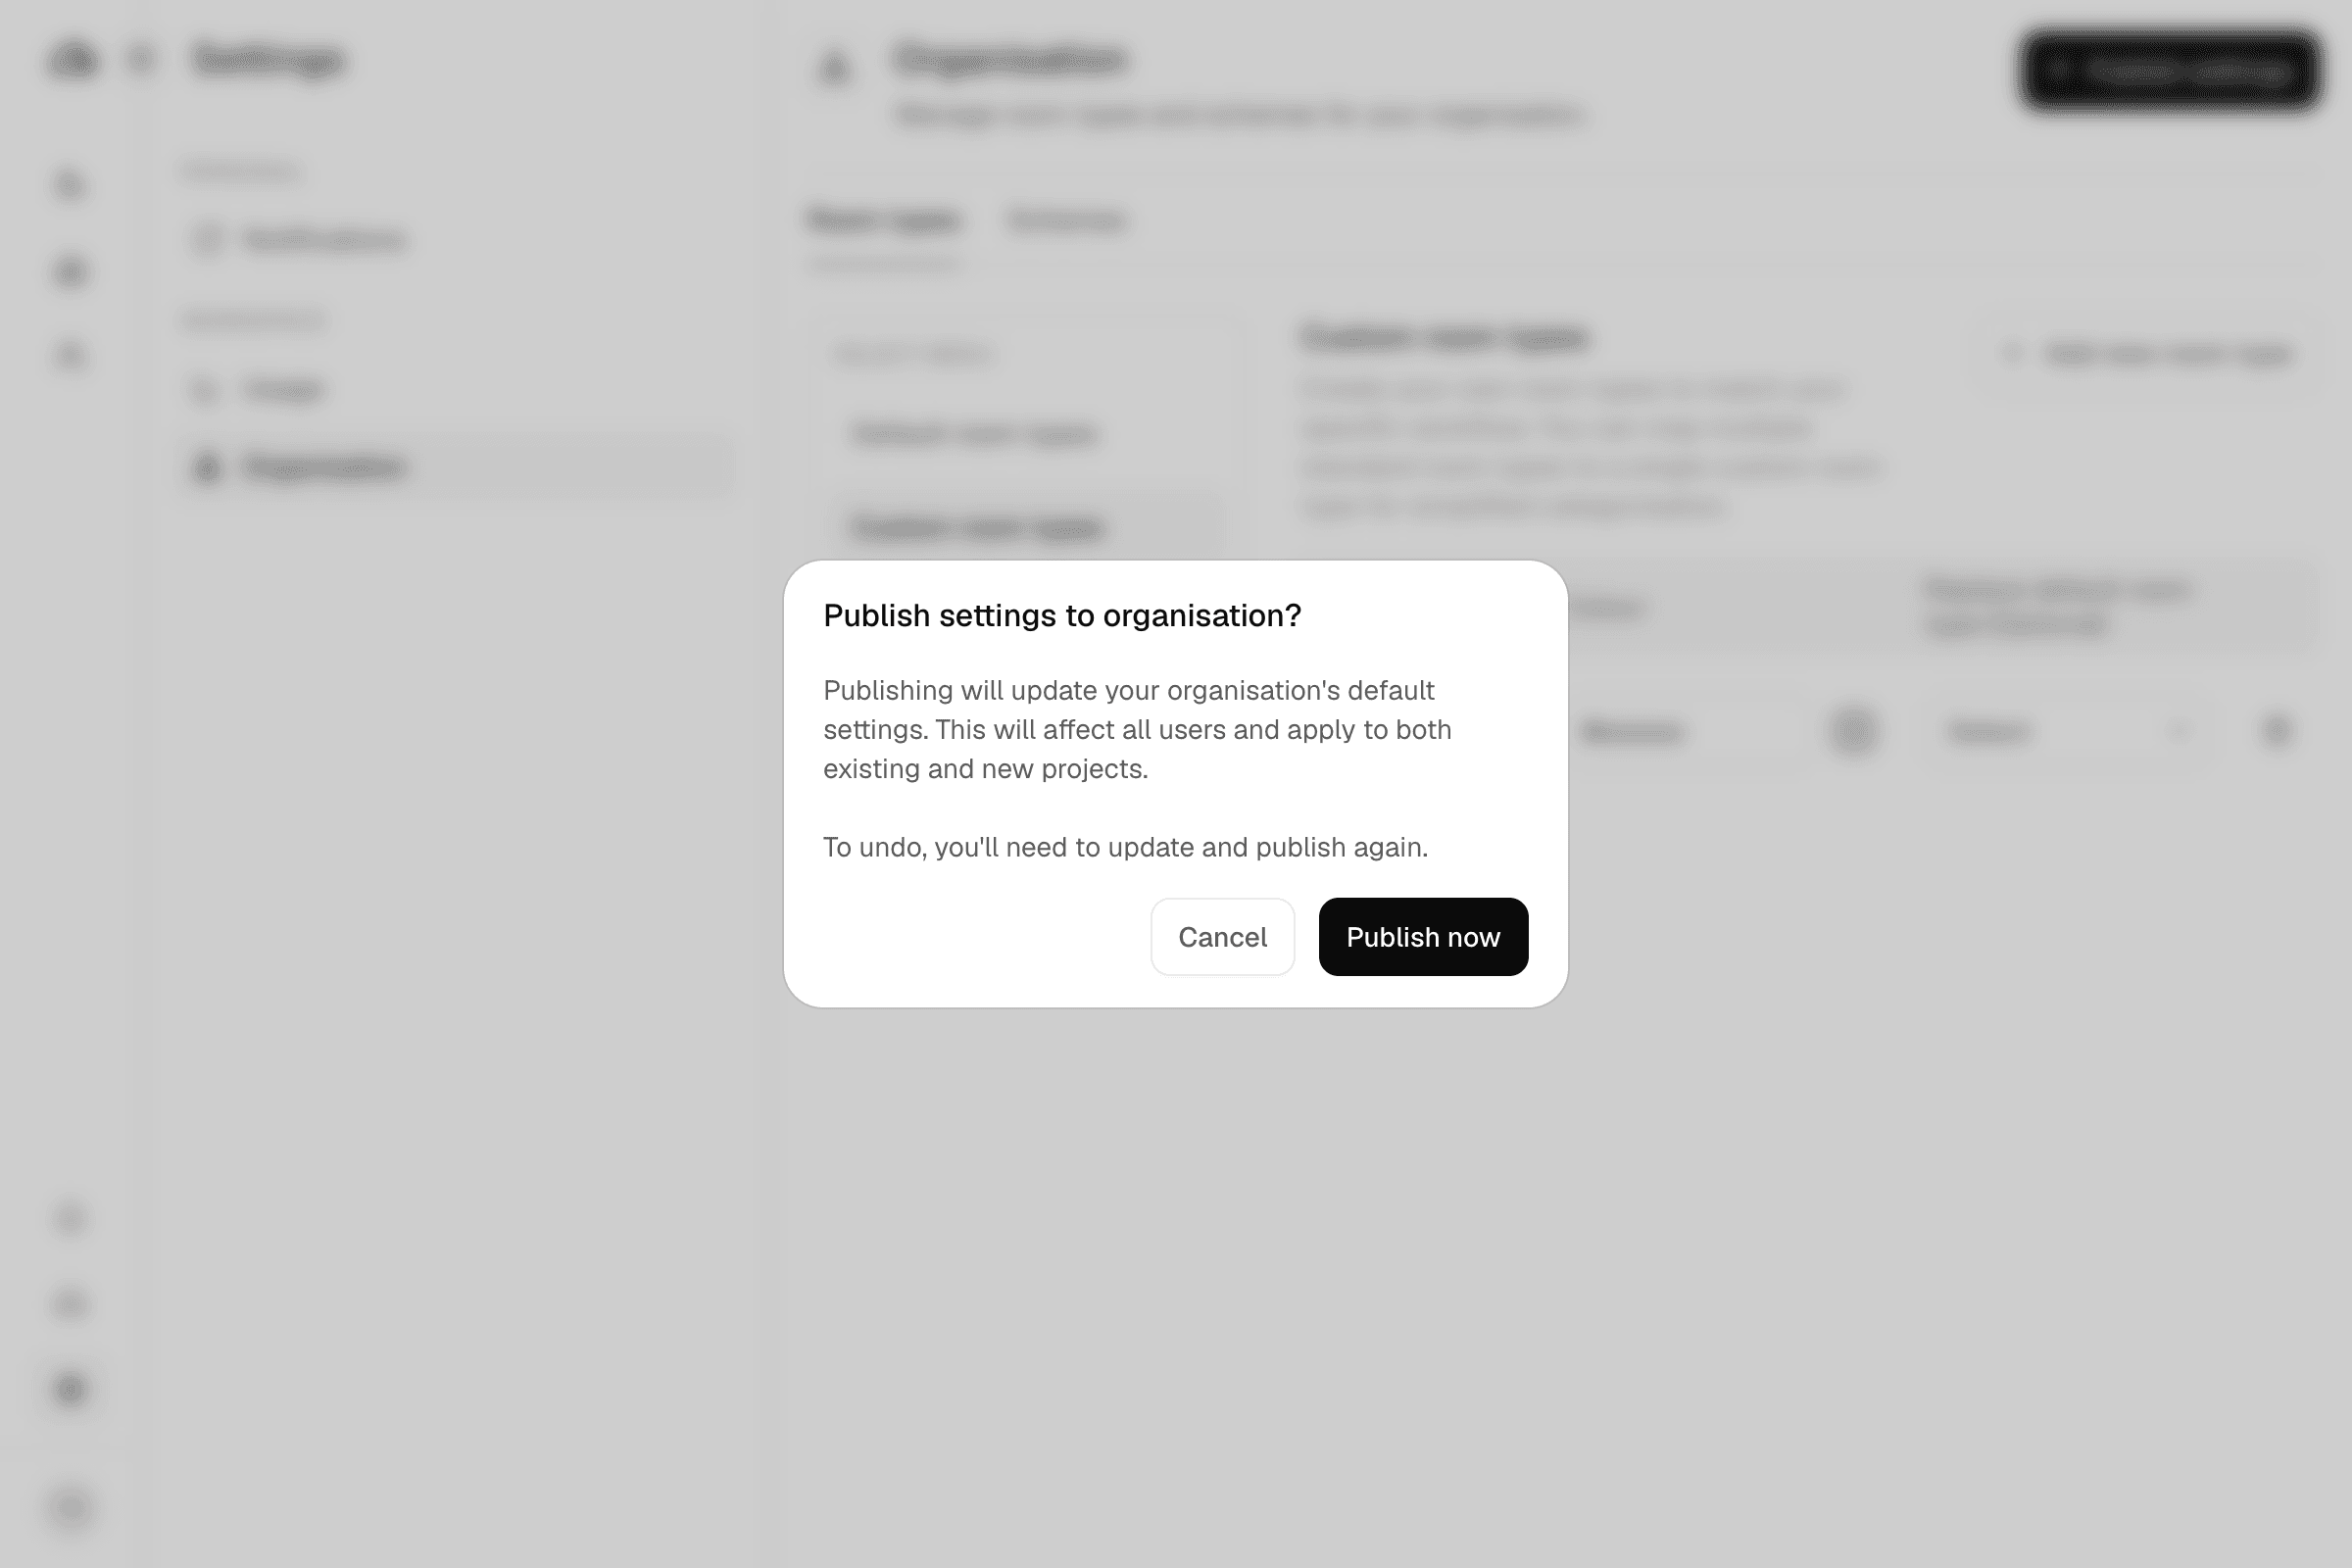
Publishing is organisation-wide, for both schemes and room types. Publish settings stays disabled until something changes.
- Unpublished edits are lost if you navigate away.
- Changes reach existing plans, not only new ones. Renaming an item relabels it everywhere it is already in use.
If the dialog refuses to publish, a field has a validation error — close it, fix the highlighted row, and publish again.
Deleting is irreversible
A deleted custom room type removes its classification from every area using it, and a deleted item disappears from every area carrying it.