
Your first floor plan
From a PDF drawing to a measured, classified plan you can export
This walks the whole path once: upload a drawing, let Arealize digitise it, check it in Studio, and export the result. Everything else in these guides is a detail of one of these steps.
You need a floor plan drawing as a PDF or DWG. A vector PDF that states its scale gives the best result — see which format works best.
Upload
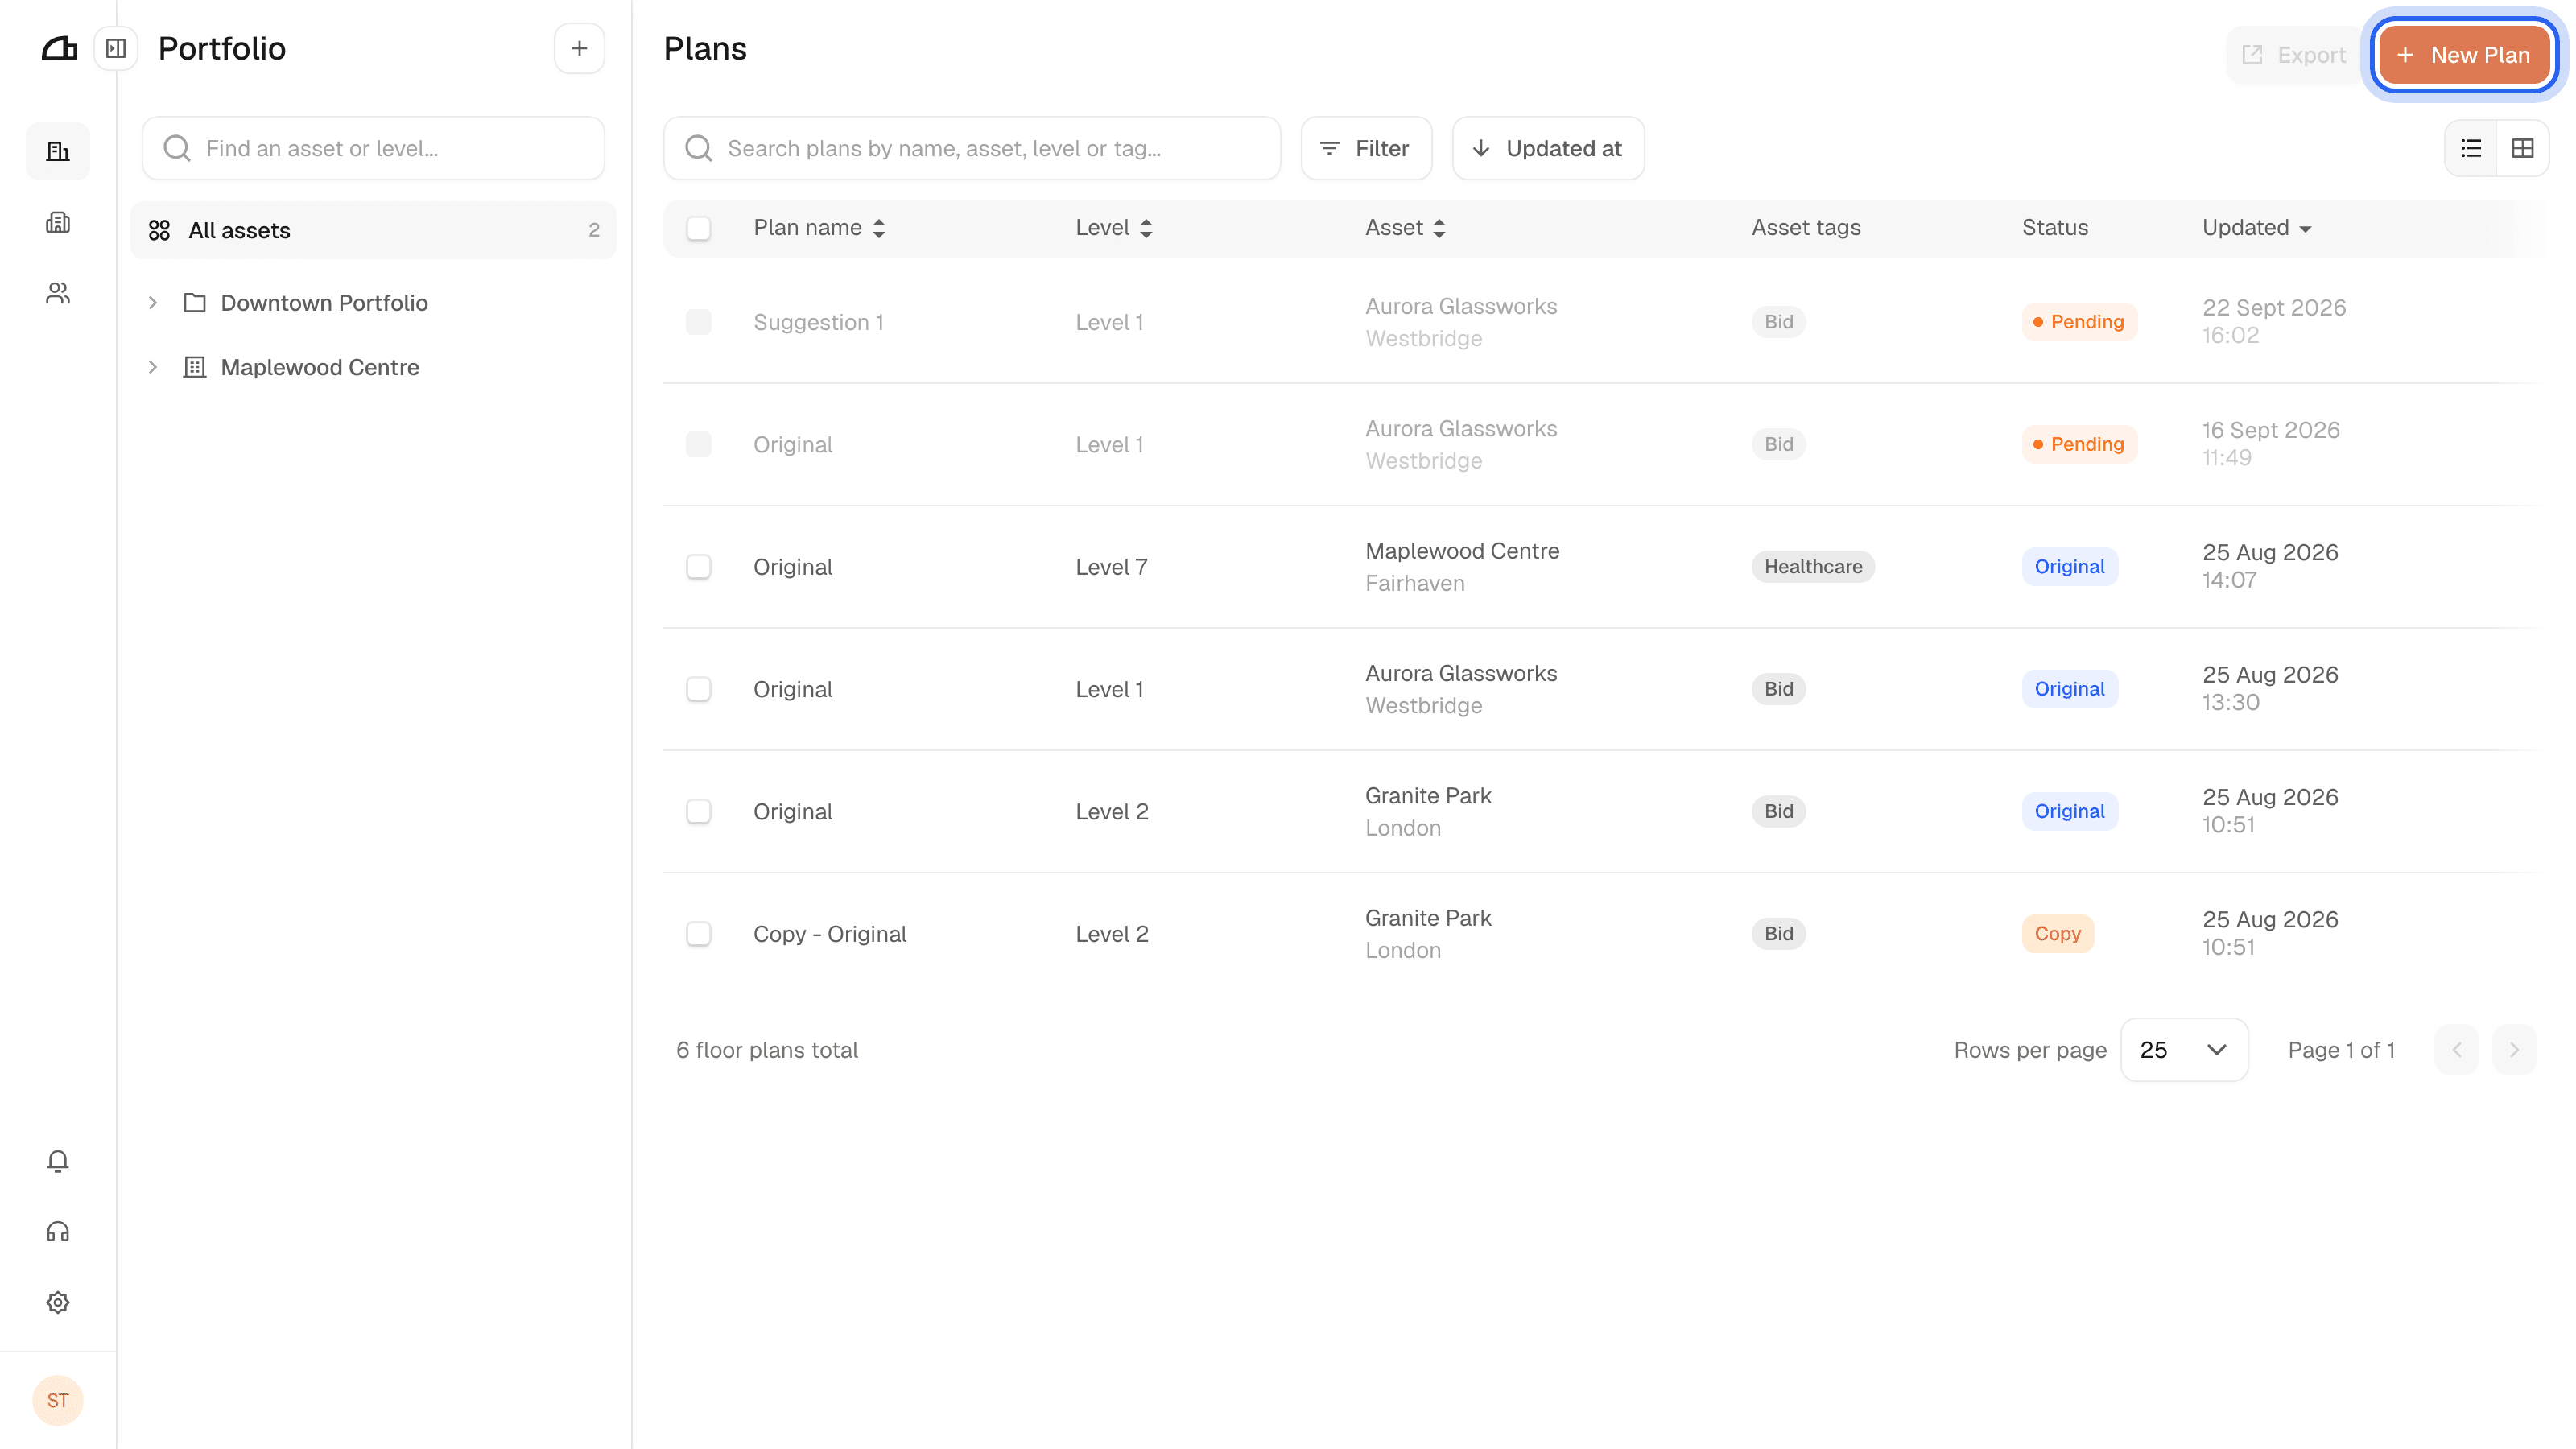
Add your file
Drag it in or click to choose. Max 50 pages per upload, 50 MB per page.
Each page becomes one floor plan on its own level, pre-named Level 1, Level 2, Level 3. Rename them to match your asset (Ground floor, 1st floor) and untick anything you do not want to digitise.
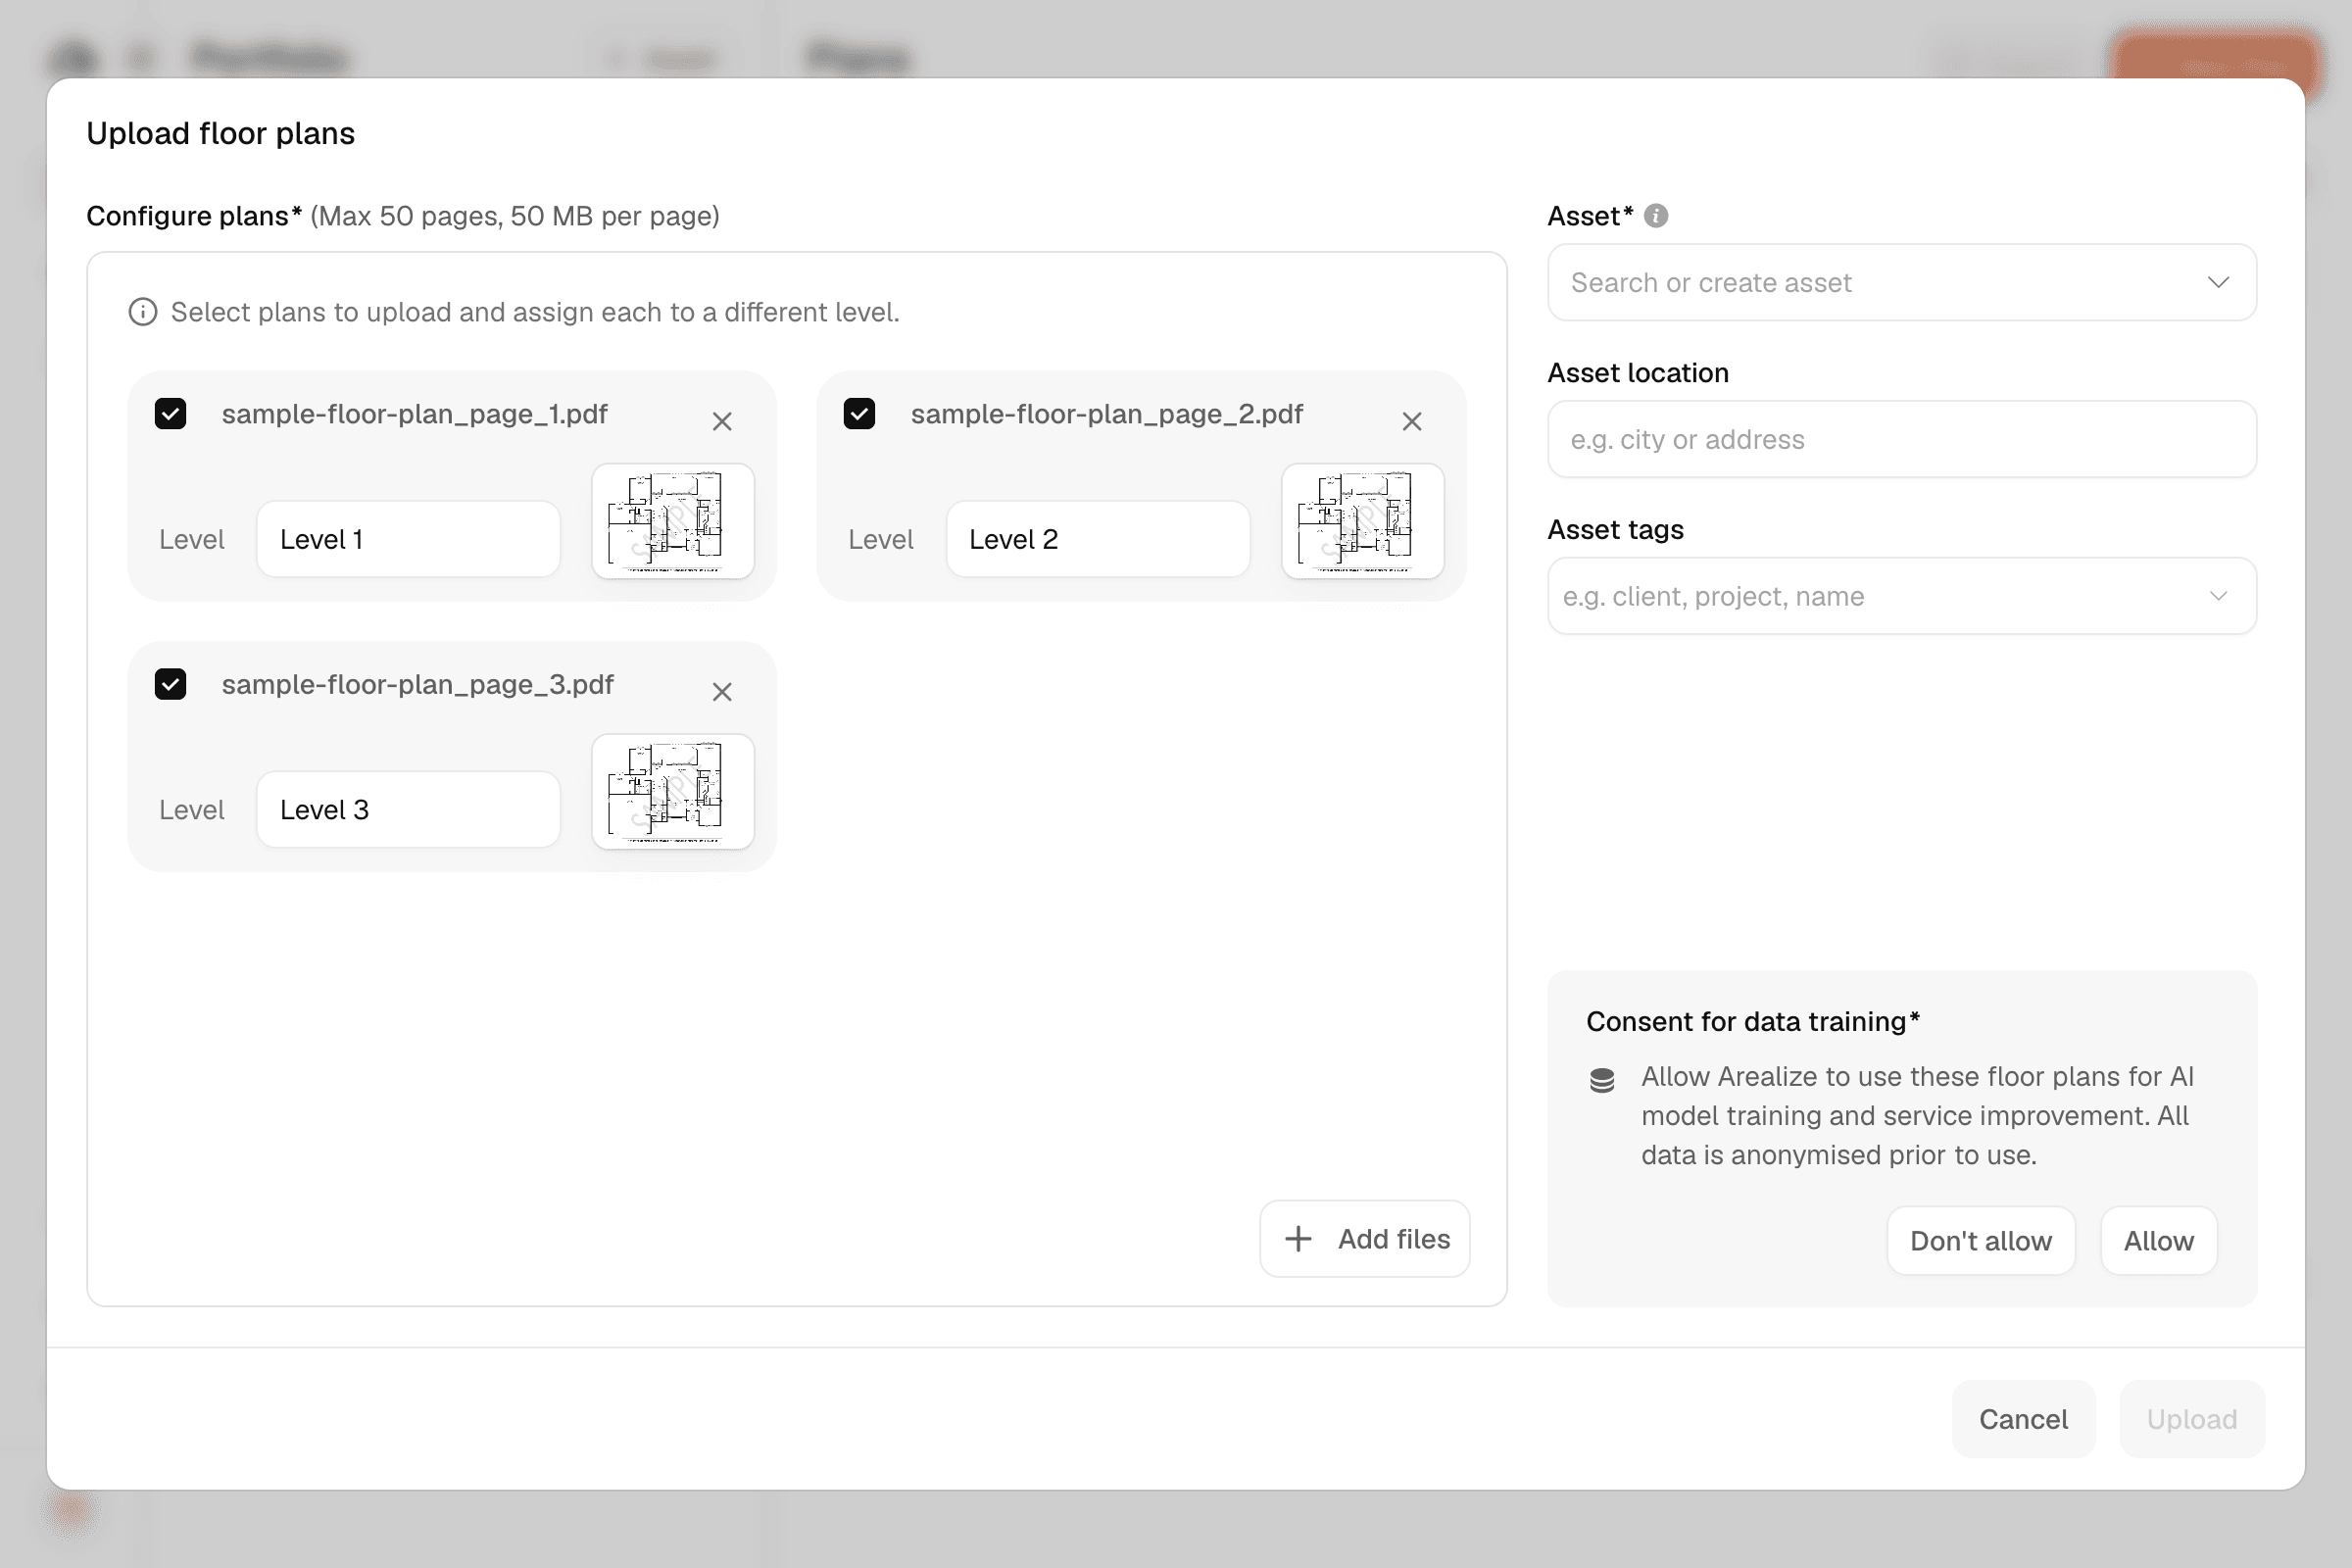
Choose the asset
The right-hand panel unlocks once a page is selected.
Search for an existing asset, or type a new name to create one — a NEW badge and Will be created on upload confirm you are creating one. Asset location and asset tags are optional.
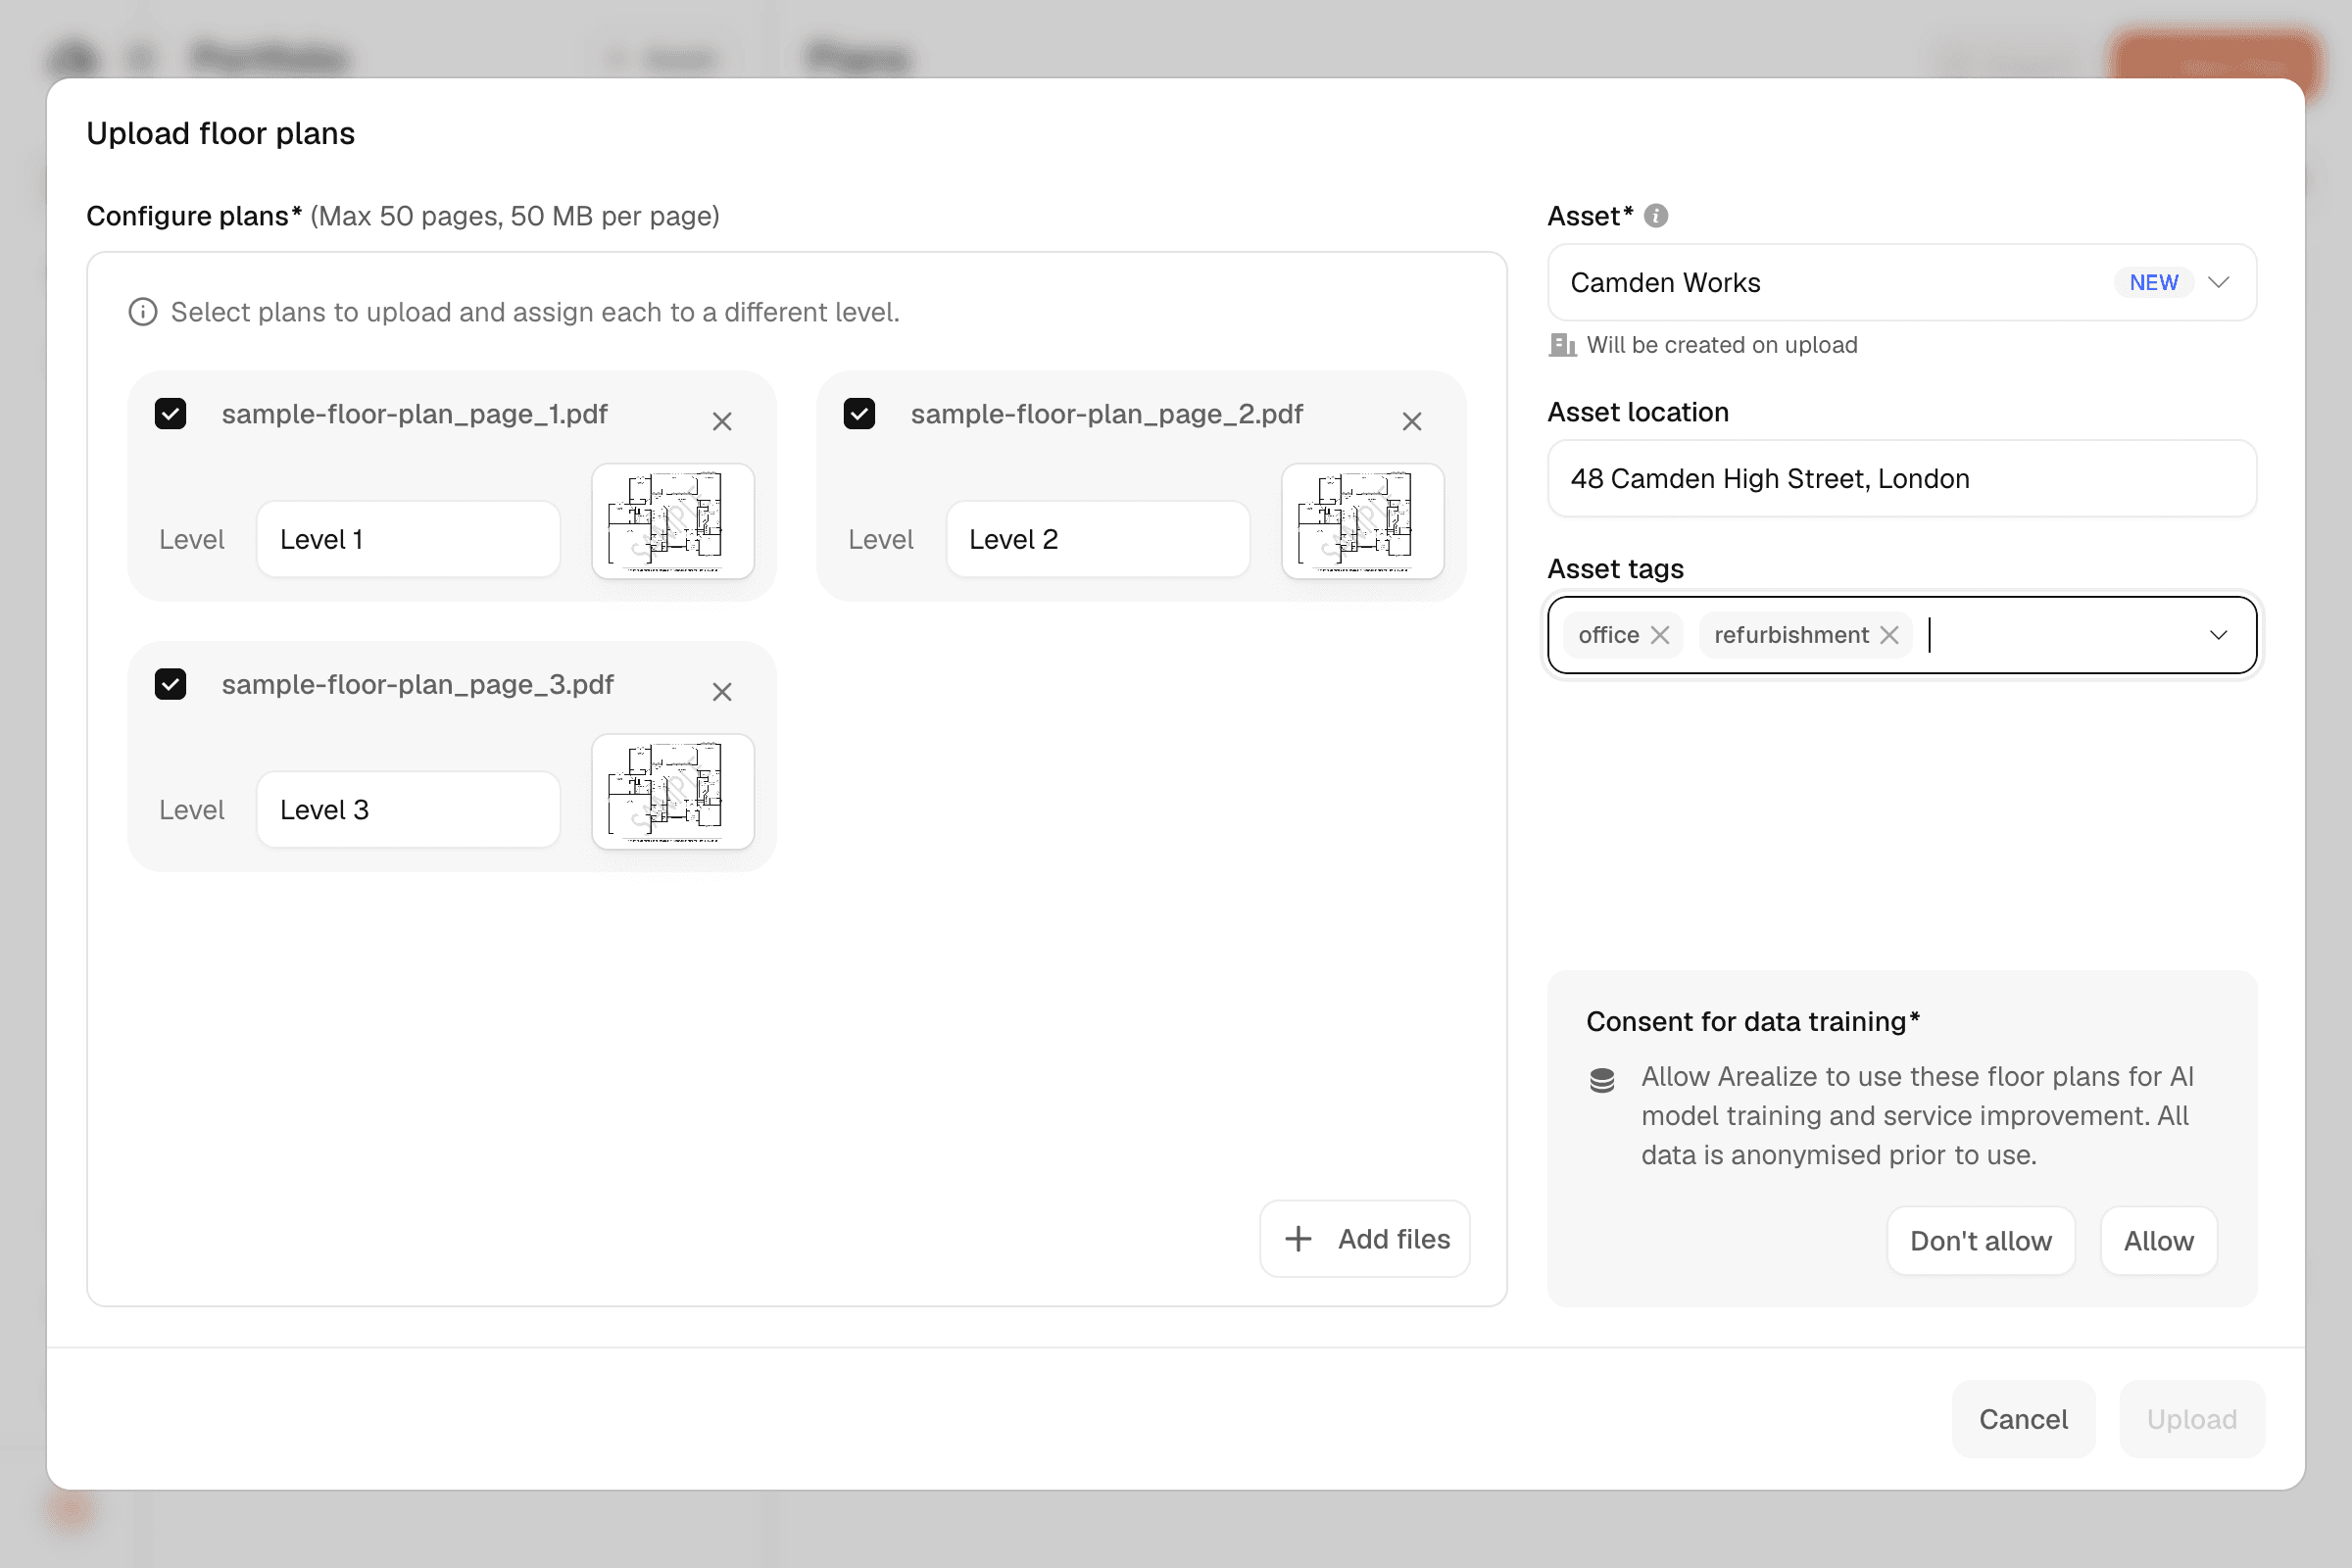
Answer the consent question
Consent for data training asks whether Arealize may use these drawings, anonymised, to improve its models. Better models mean more accurate detection over time, so there's less to correct after each digitisation.
An answer is required: Upload stays disabled until you choose Allow or Don't allow.
Upload
Click Upload. The asset is created, the plans are queued for digitisation, and you return to the portfolio with the new plans listed as Pending.
See Upload plans for the same steps on their own page.
Digitisation detects walls, openings and spaces. It runs in the background and may take up to 24 hours, so you do not need to stay on the page.
Check it in Studio
In the portfolio, the status changes from Pending to Original when a plan is done. Hover the row and click Open in Studio.

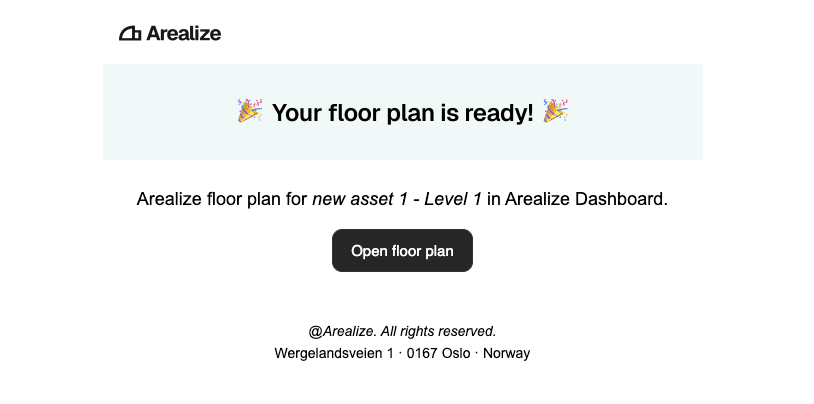
If Floor plan ready is switched on in Notifications, we also email you as each plan finishes. Click Open floor plan in the email to go straight to it in Studio.
Digitisation gives you a starting point. Review these three things for accurate statistics.
- Scale. Confirm the scale first. Every area and statistic on the floor is calculated from it. See Set the scale.
- Walls and openings. Check the geometry, particularly where walls meet, since this defines the boundary of each space.
- Room types and names. Adjust anything that does not match how the building is used. See Areas and room types.
With those right, the statistics for the floor are meaningful. See Statistics.
Export the results
A finished plan holds both the drawing and its area list. You can export the drawing as a PDF or DWG, or the area list as a spreadsheet.
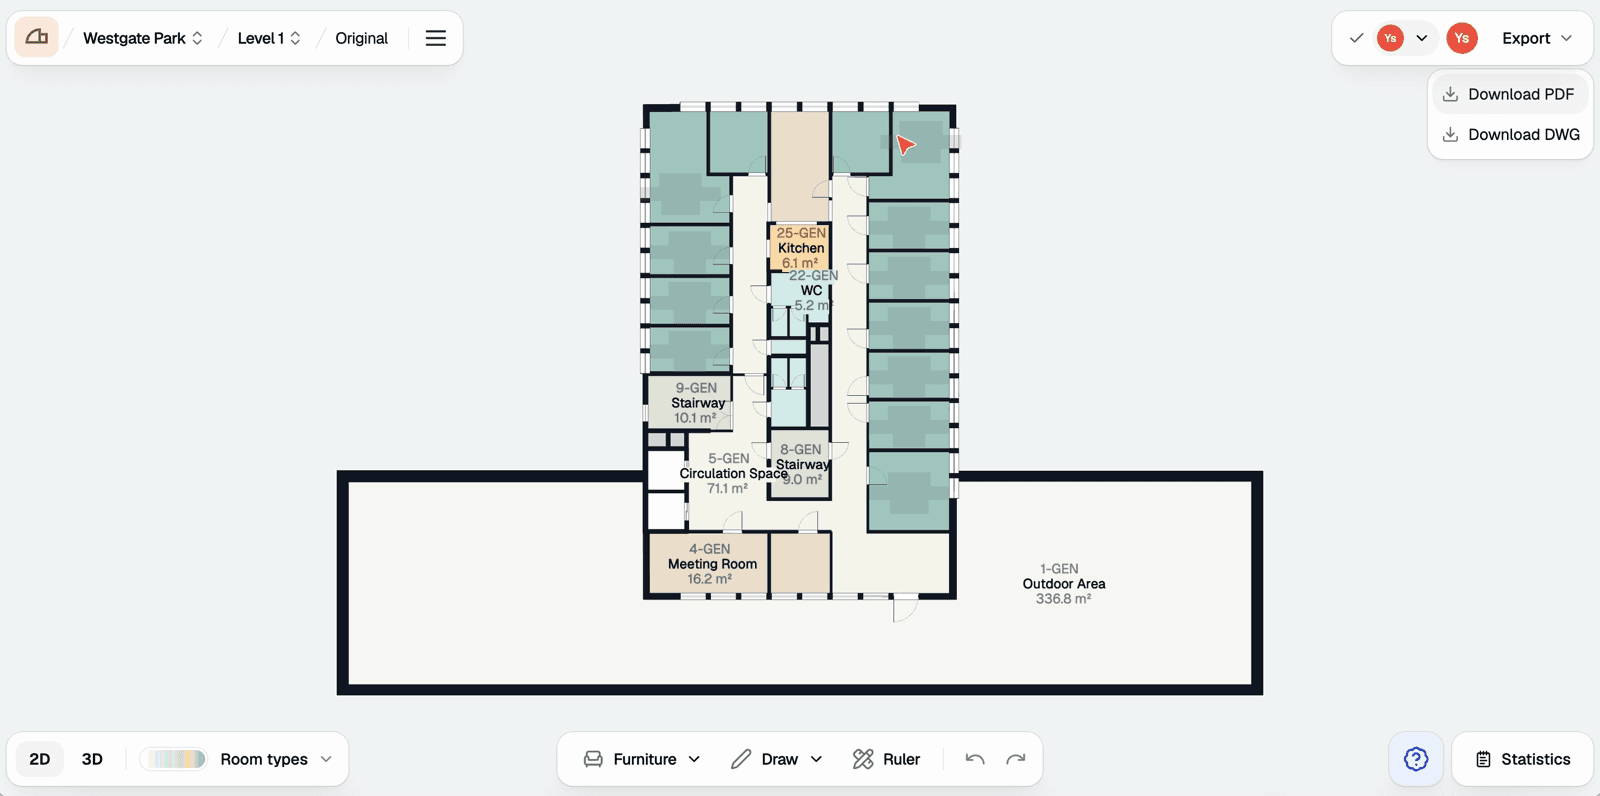
From Studio, export the plan you have open in either format. Export, top right, offers Download PDF and Download DWG.
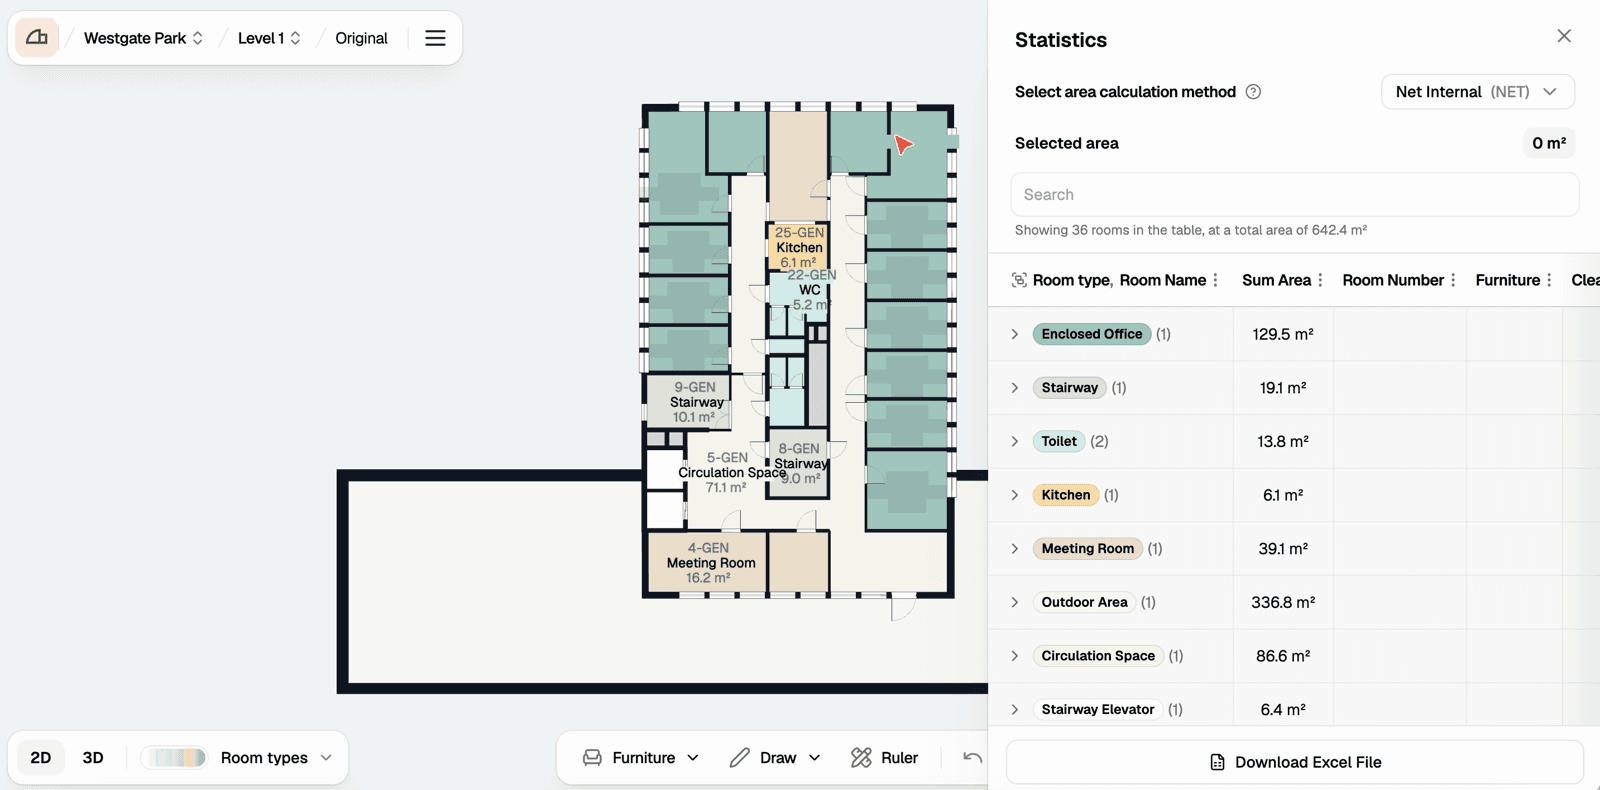
The area list comes from Statistics, bottom right, with Download Excel File at the foot of the panel.
From Portfolio, you can select multiple plans and export them in one batch, as floor plans or an area list.