
Upload plans
Add drawings to an asset and queue them for digitisation
You need a floor plan drawing as a PDF or DWG. A vector PDF that states its scale gives the best result. See which format works best.
Steps
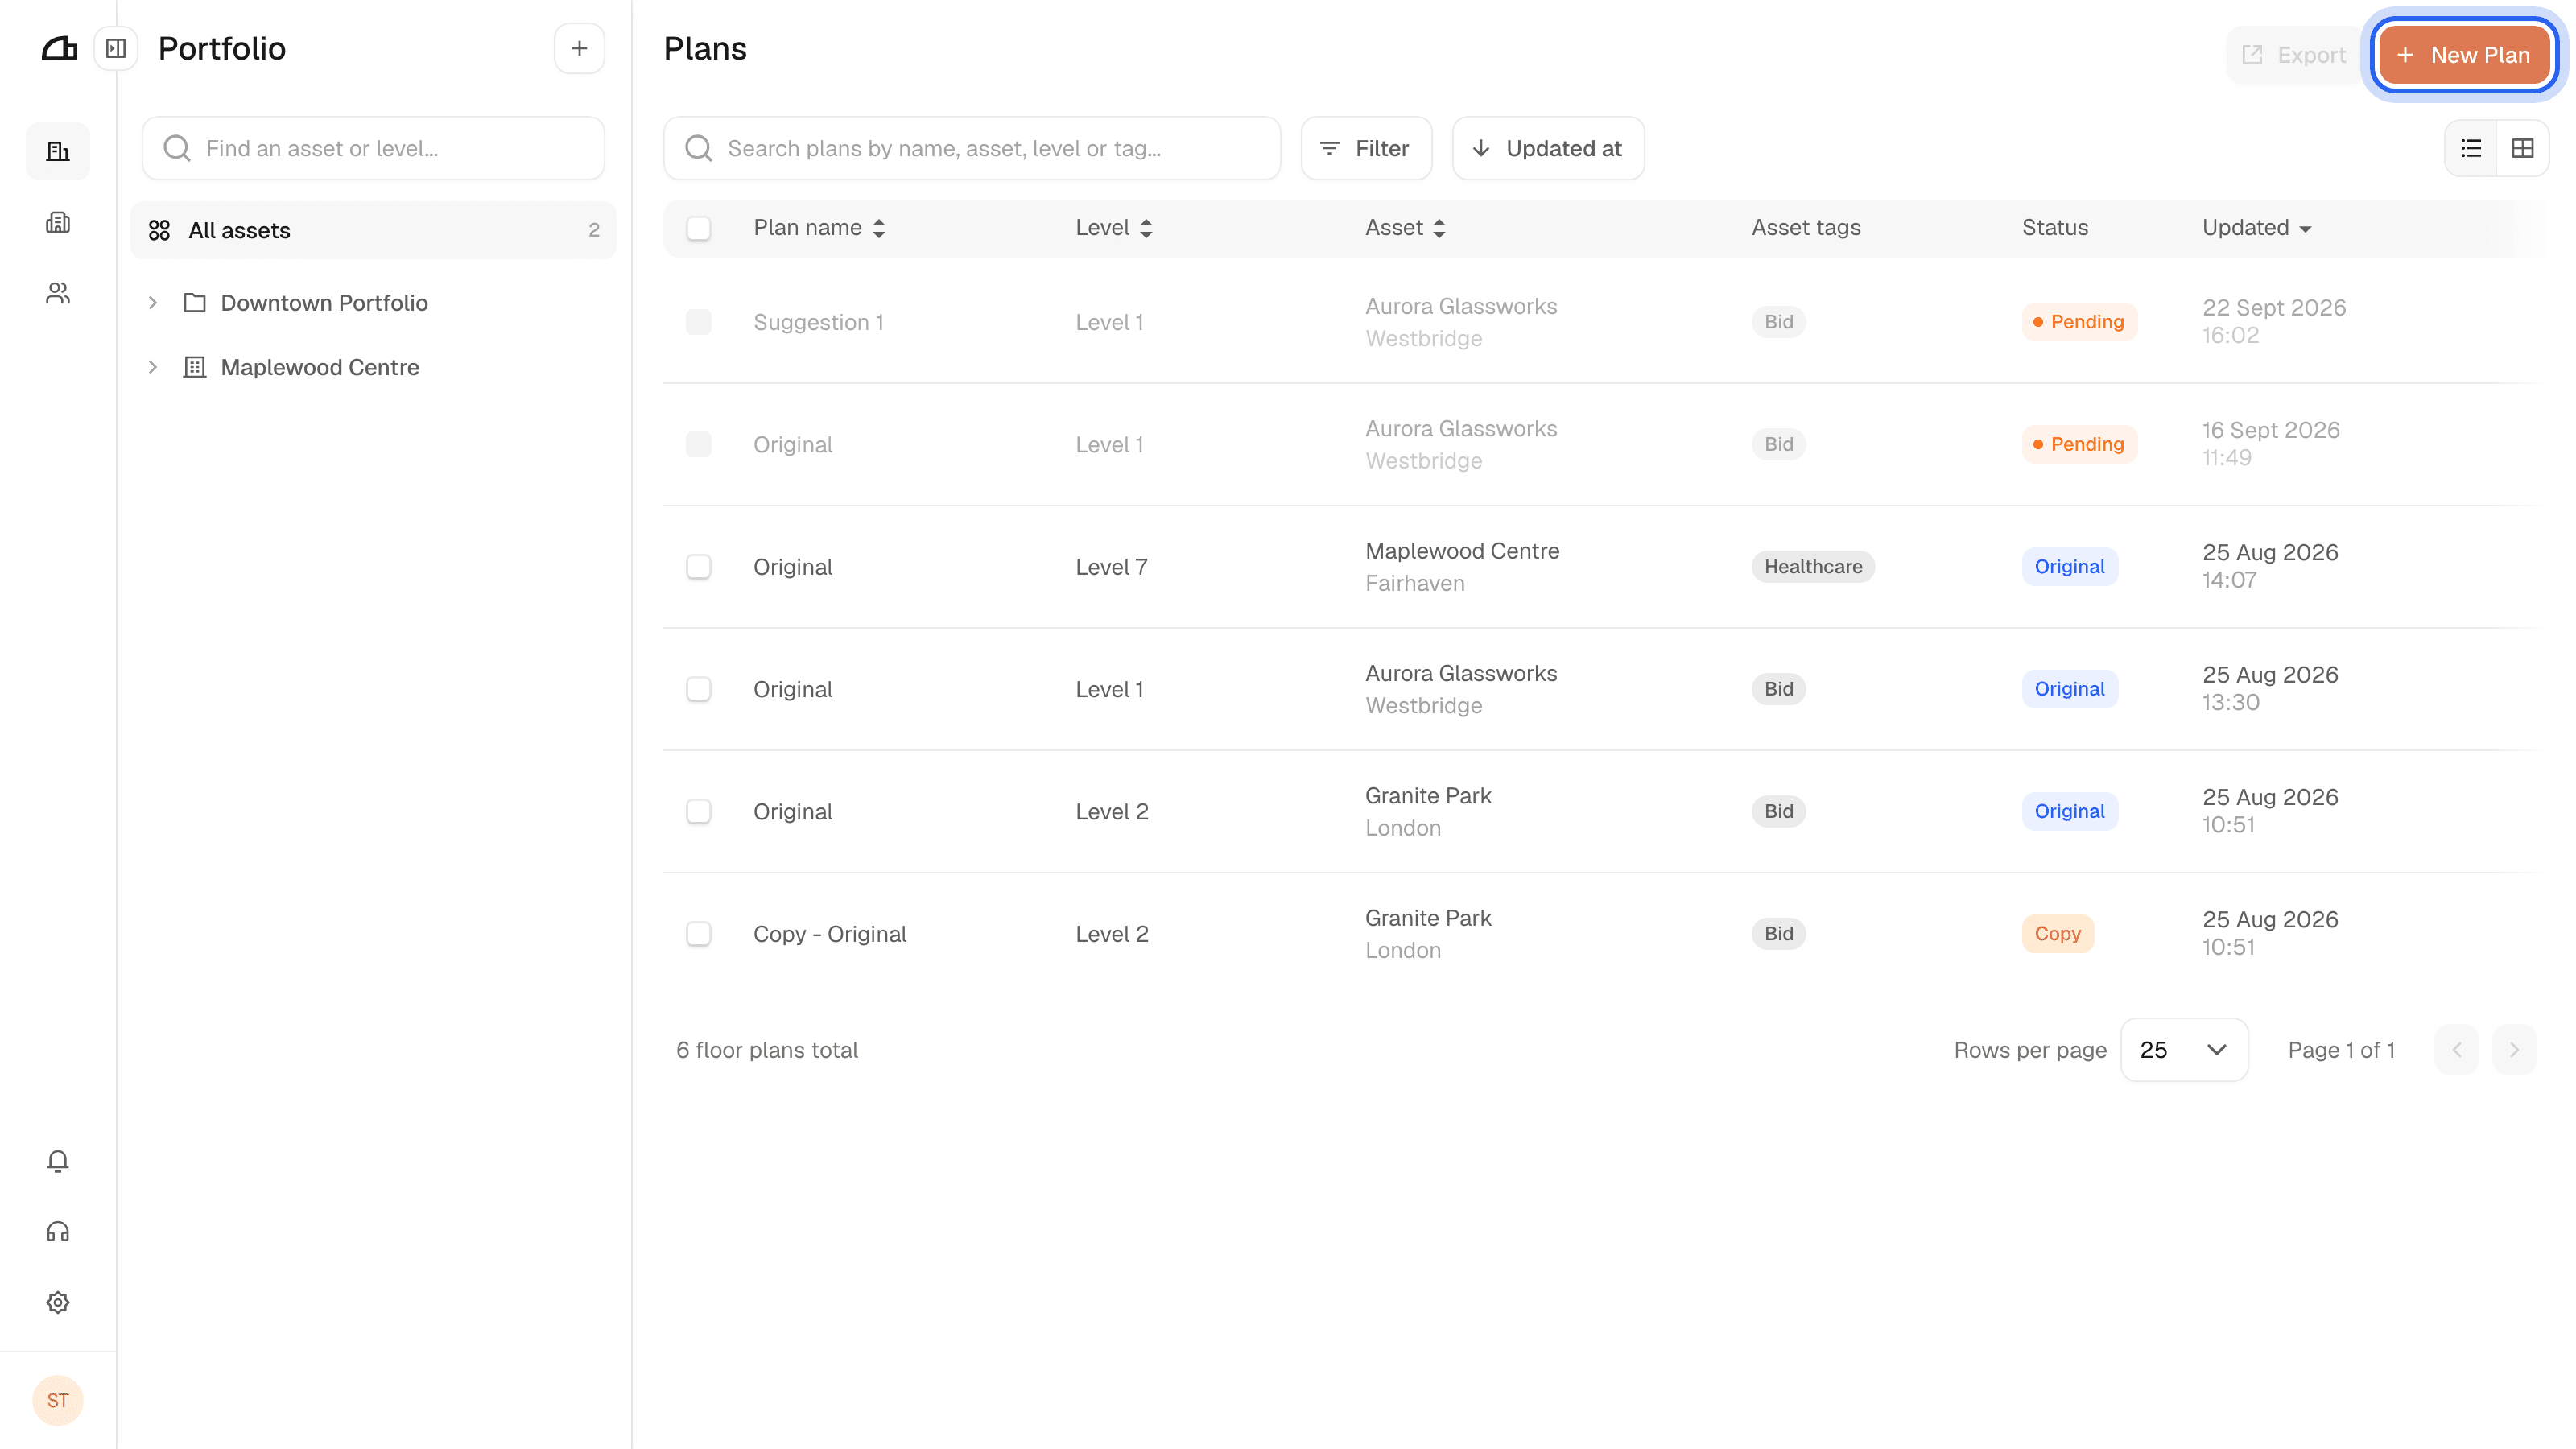
Add your file
Drag it in or click to choose. Max 50 pages per upload, 50 MB per page.
Each page becomes one floor plan on its own level, pre-named Level 1, Level 2, Level 3. Rename them to match your asset (Ground floor, 1st floor) and untick anything you do not want to digitise.
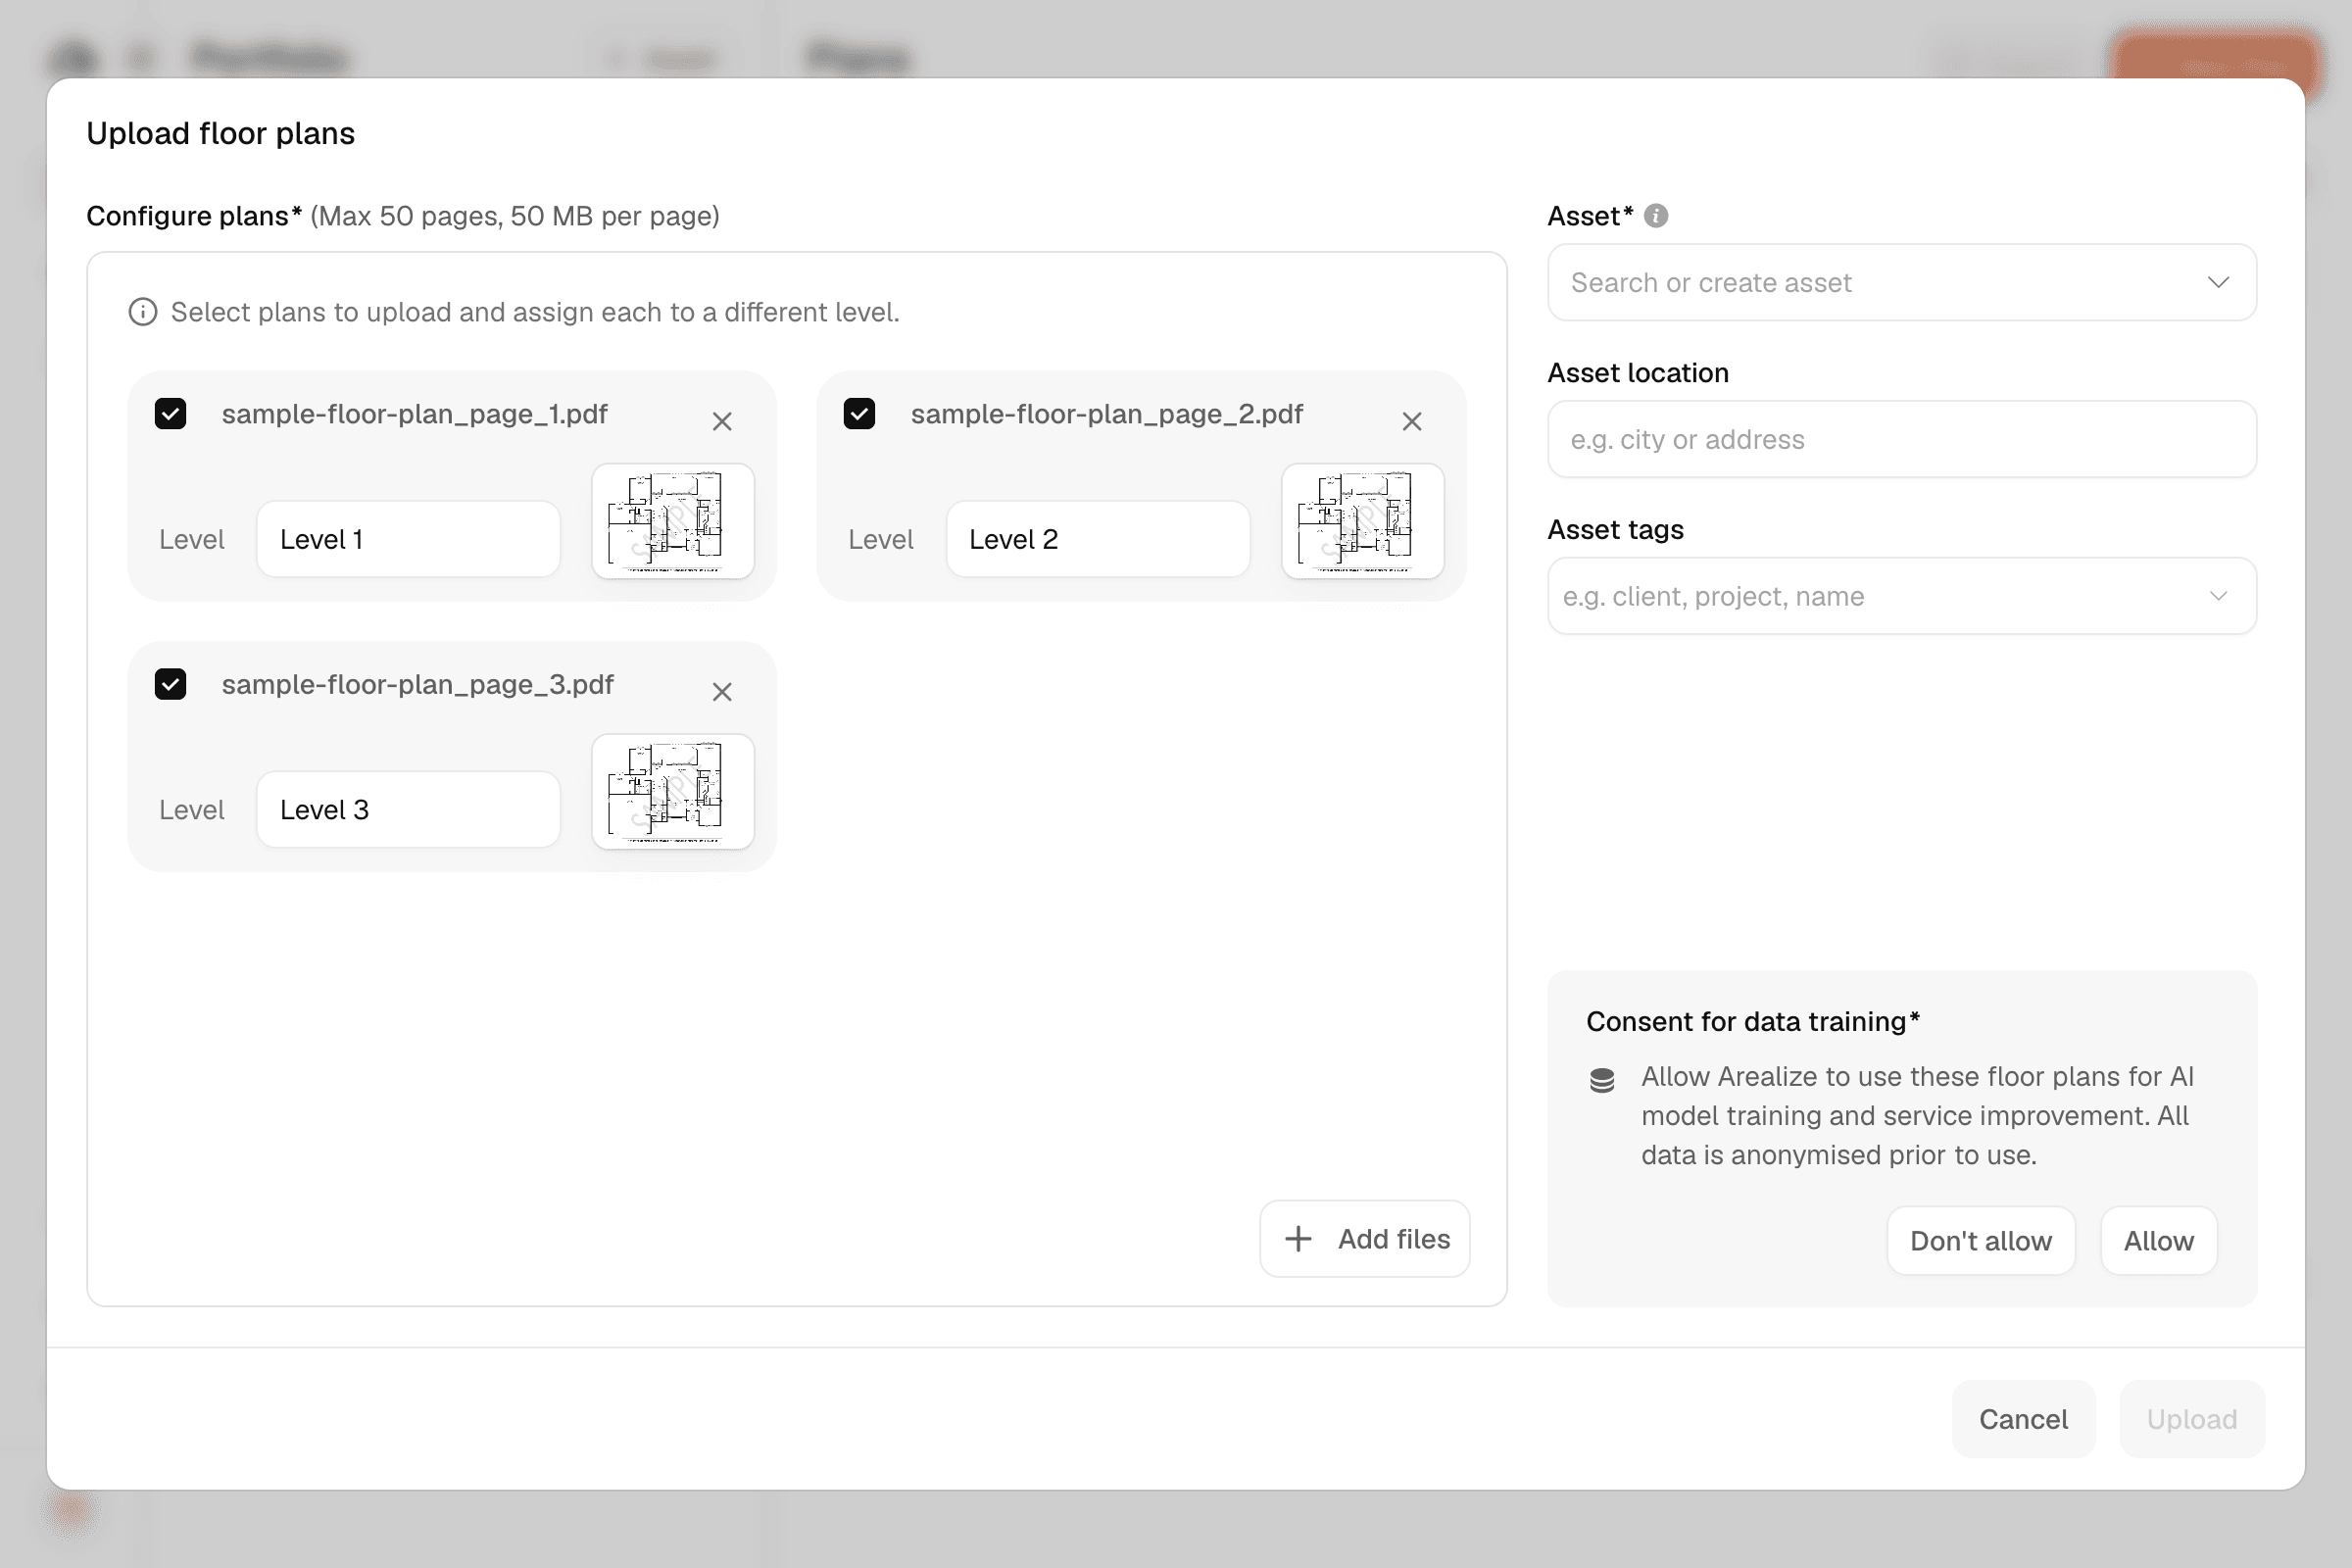
Choose the asset
The right-hand panel unlocks once a page is selected.
Search for an existing asset, or type a new name to create one. A NEW badge and Will be created on upload confirm you are creating one. Asset location and asset tags are optional.
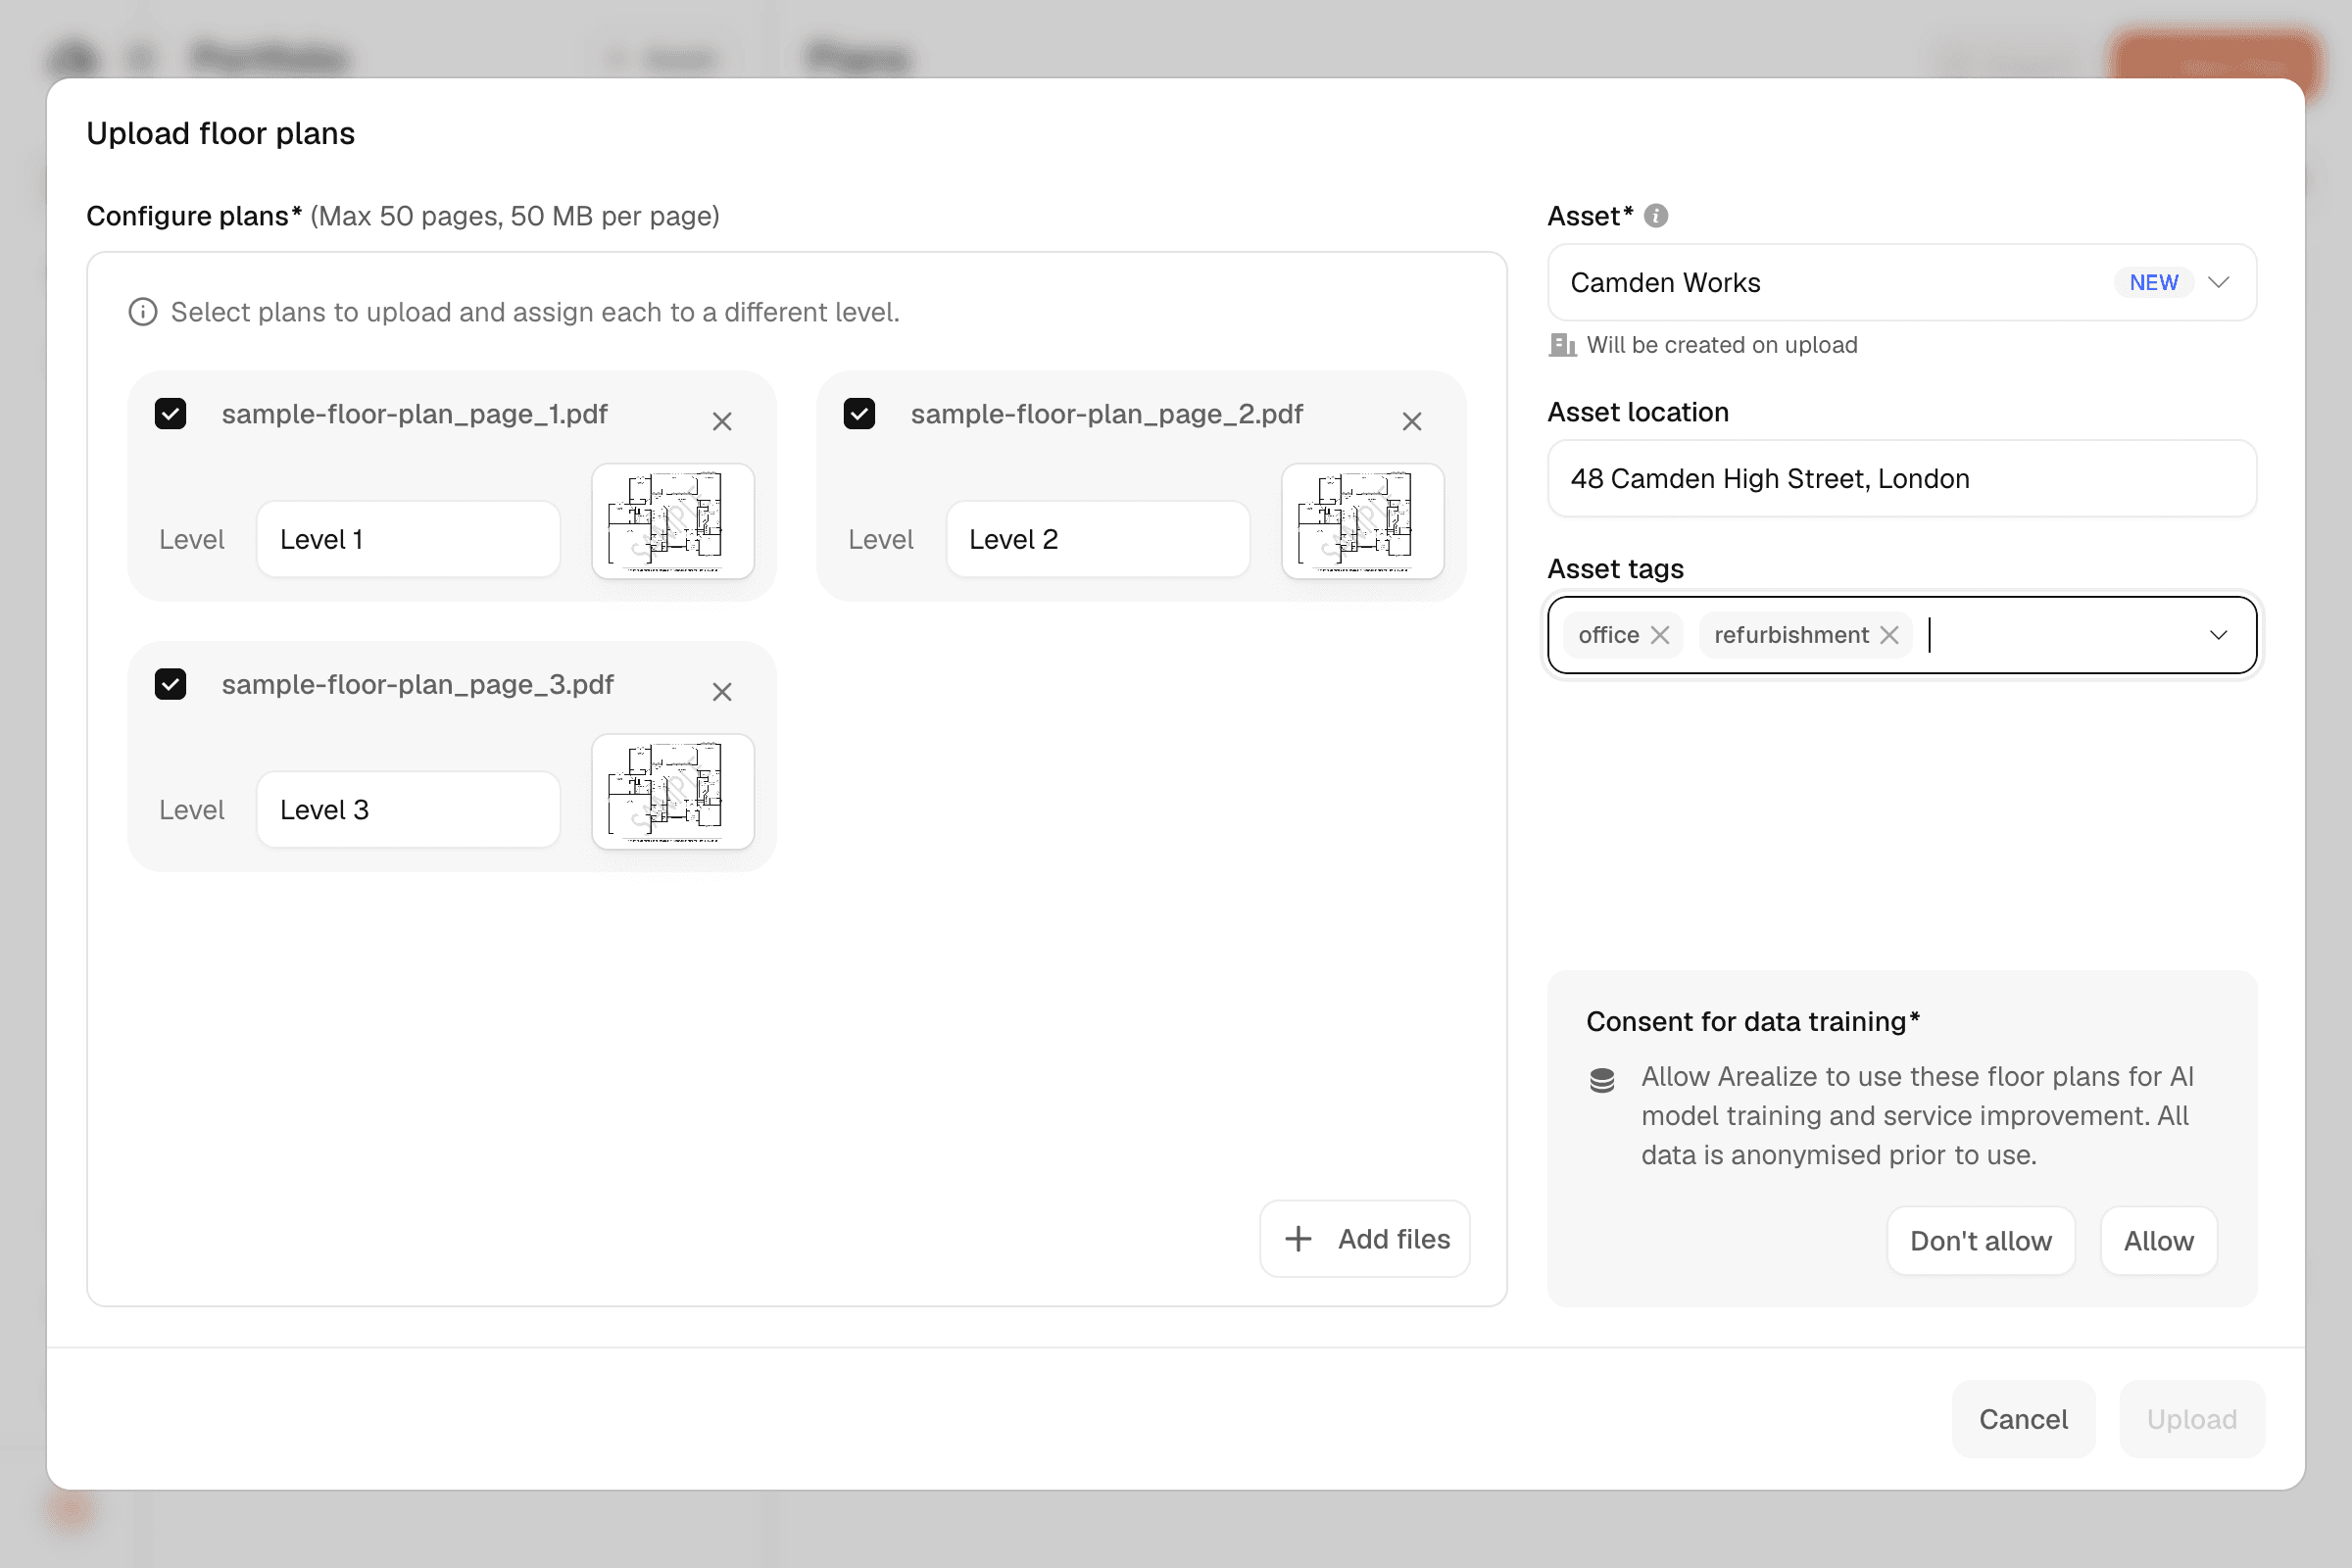
Answer the consent question
Consent for data training asks whether Arealize may use these drawings, anonymised, to improve its models. Better models mean more accurate detection over time, so there is less to correct after each digitisation.
An answer is required: Upload stays disabled until you choose Allow or Don't allow.
Upload
Click Upload. The asset is created, the plans are queued for digitisation, and you return to the portfolio with the new plans listed as Pending.
Digitisation detects walls, openings and spaces. It runs in the background and may take up to 24 hours, so you do not need to stay on the page.