
Export floor plans
Produce floor plan drawings for many plans at once, across one asset or several
Exporting turns finished plan drawings into PDFs you can share, print or attach to a report. One set of settings applies to every plan in the batch.
Steps
Select the plans
In Portfolio, use the search bar and filters to narrow the list, then tick the plans you want.
Plans still being digitised cannot be selected.
Sort the table before you export. Each plan becomes a page in the order shown, so sorting by asset and level gives a document that reads in an order of your choice.
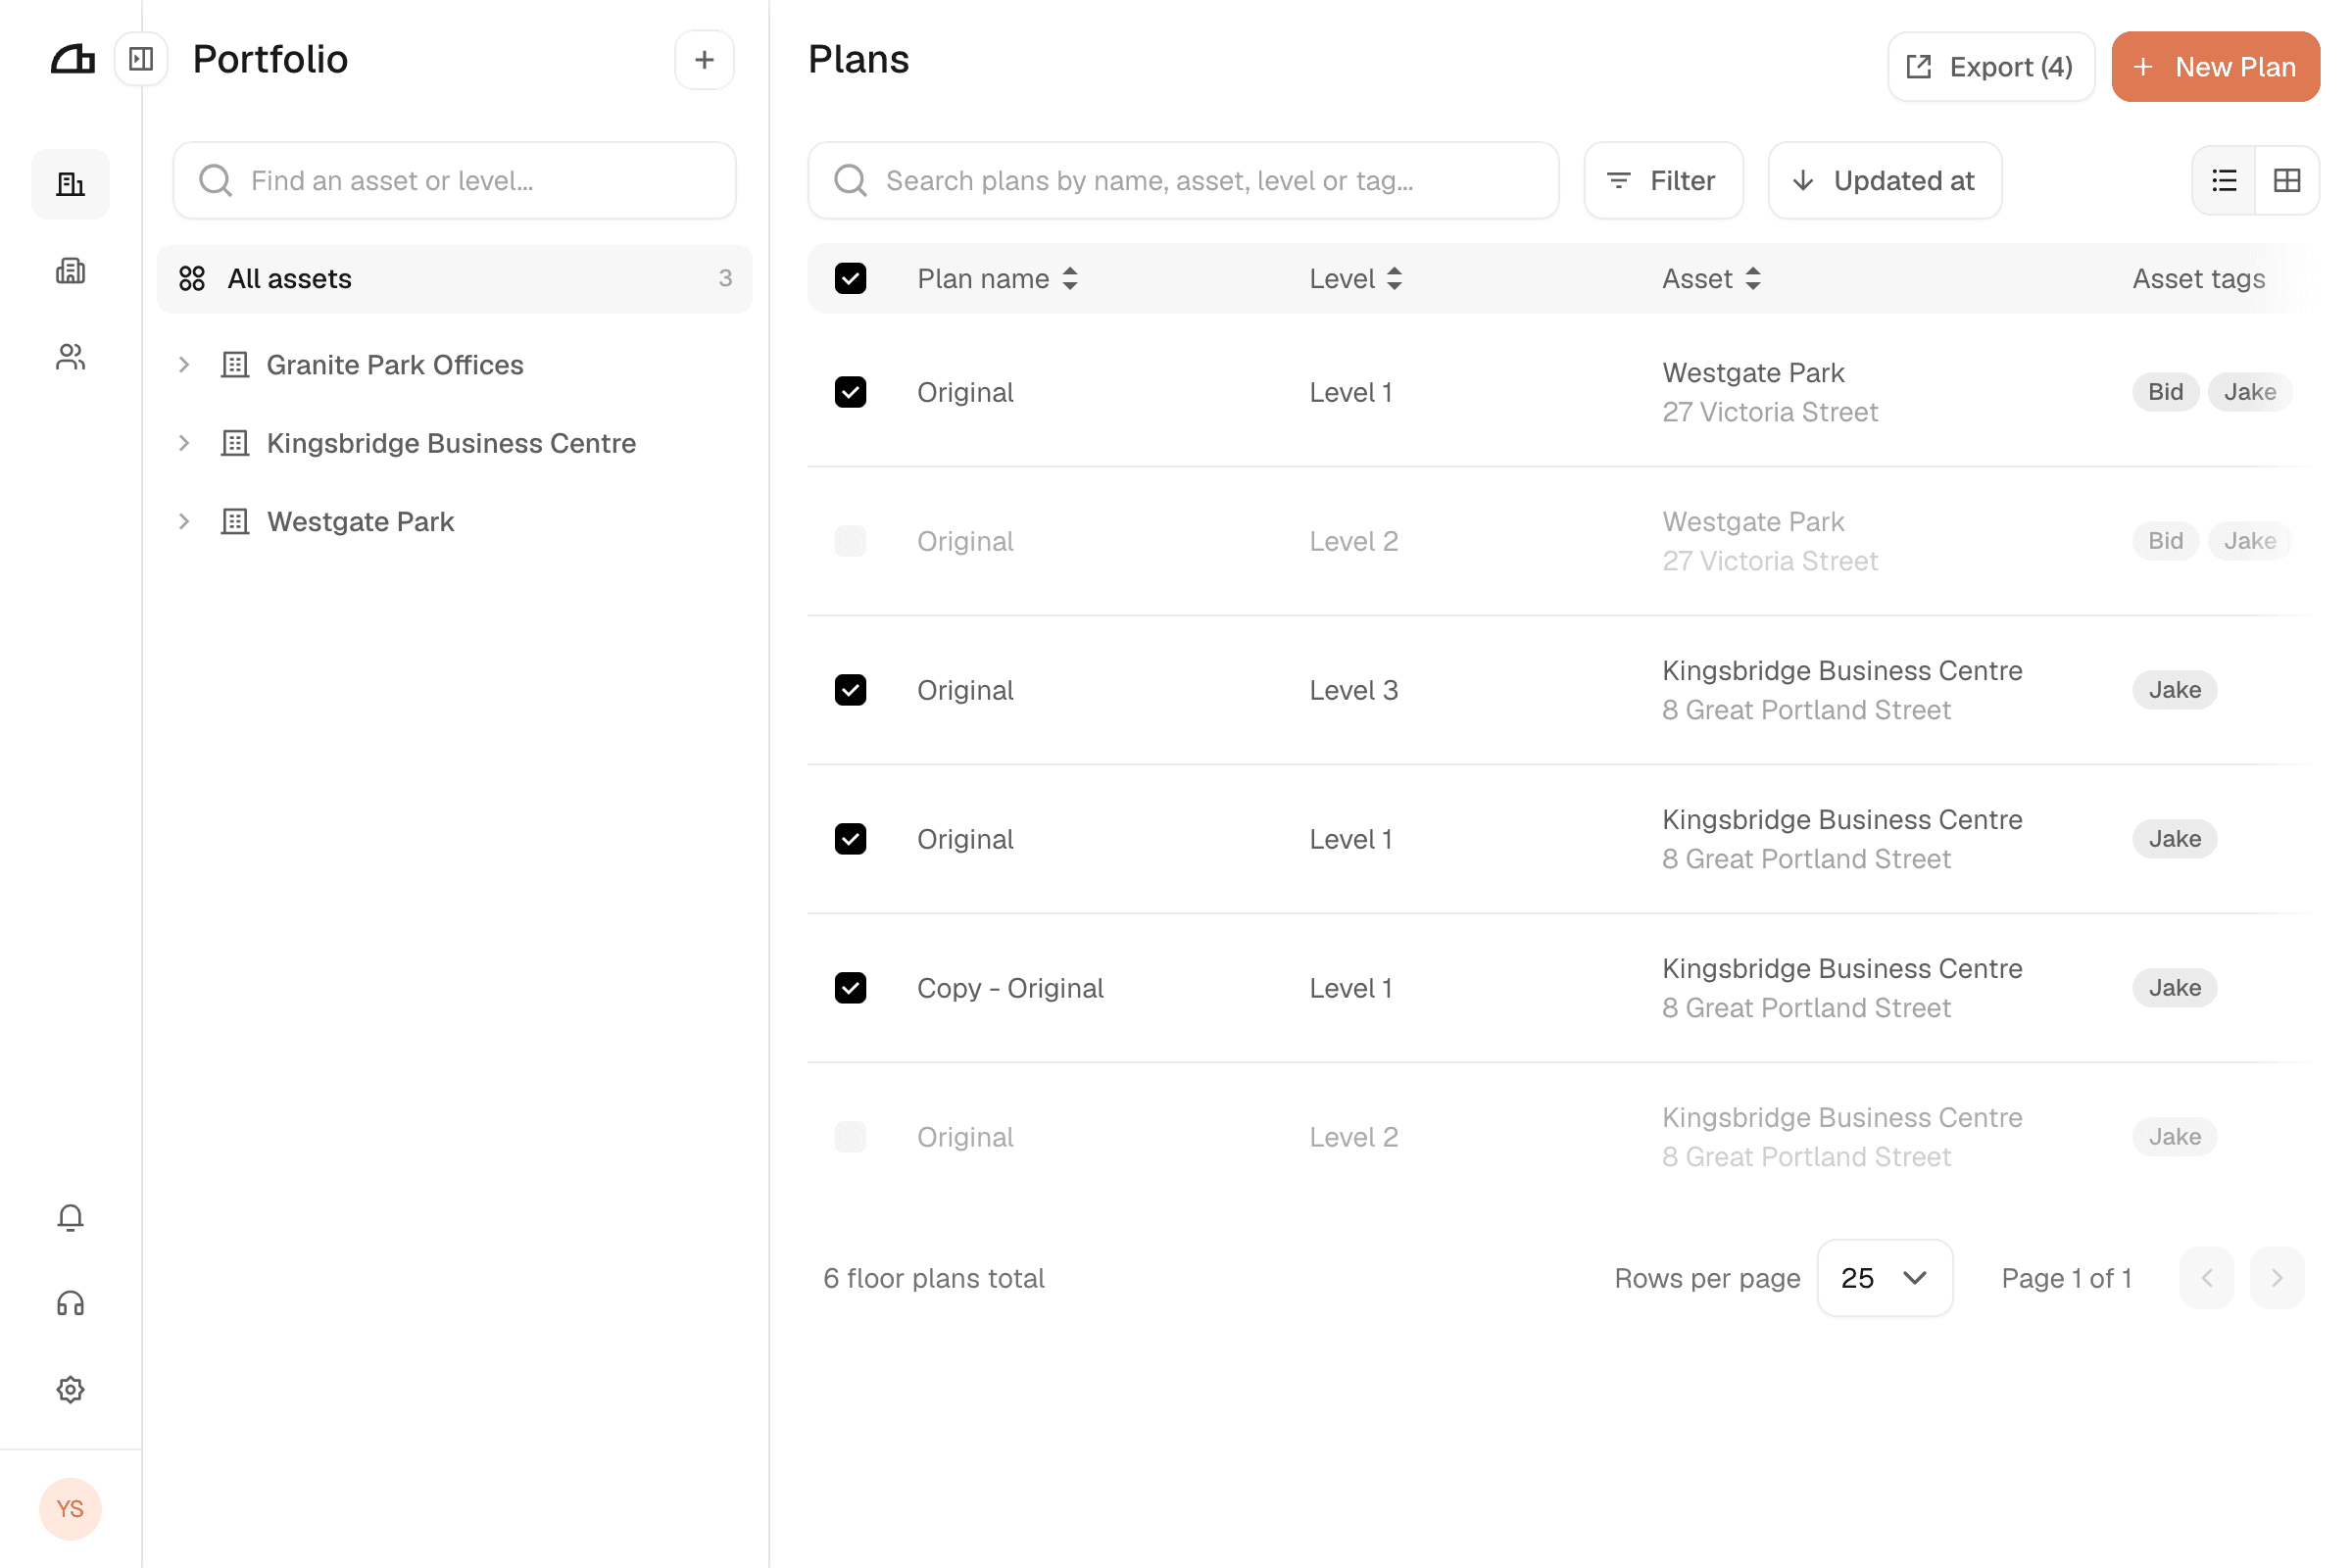
Open the export dialog
Click Export. It shows how many plans are selected and stays disabled until you select at least one. Choose Floor plan(s).
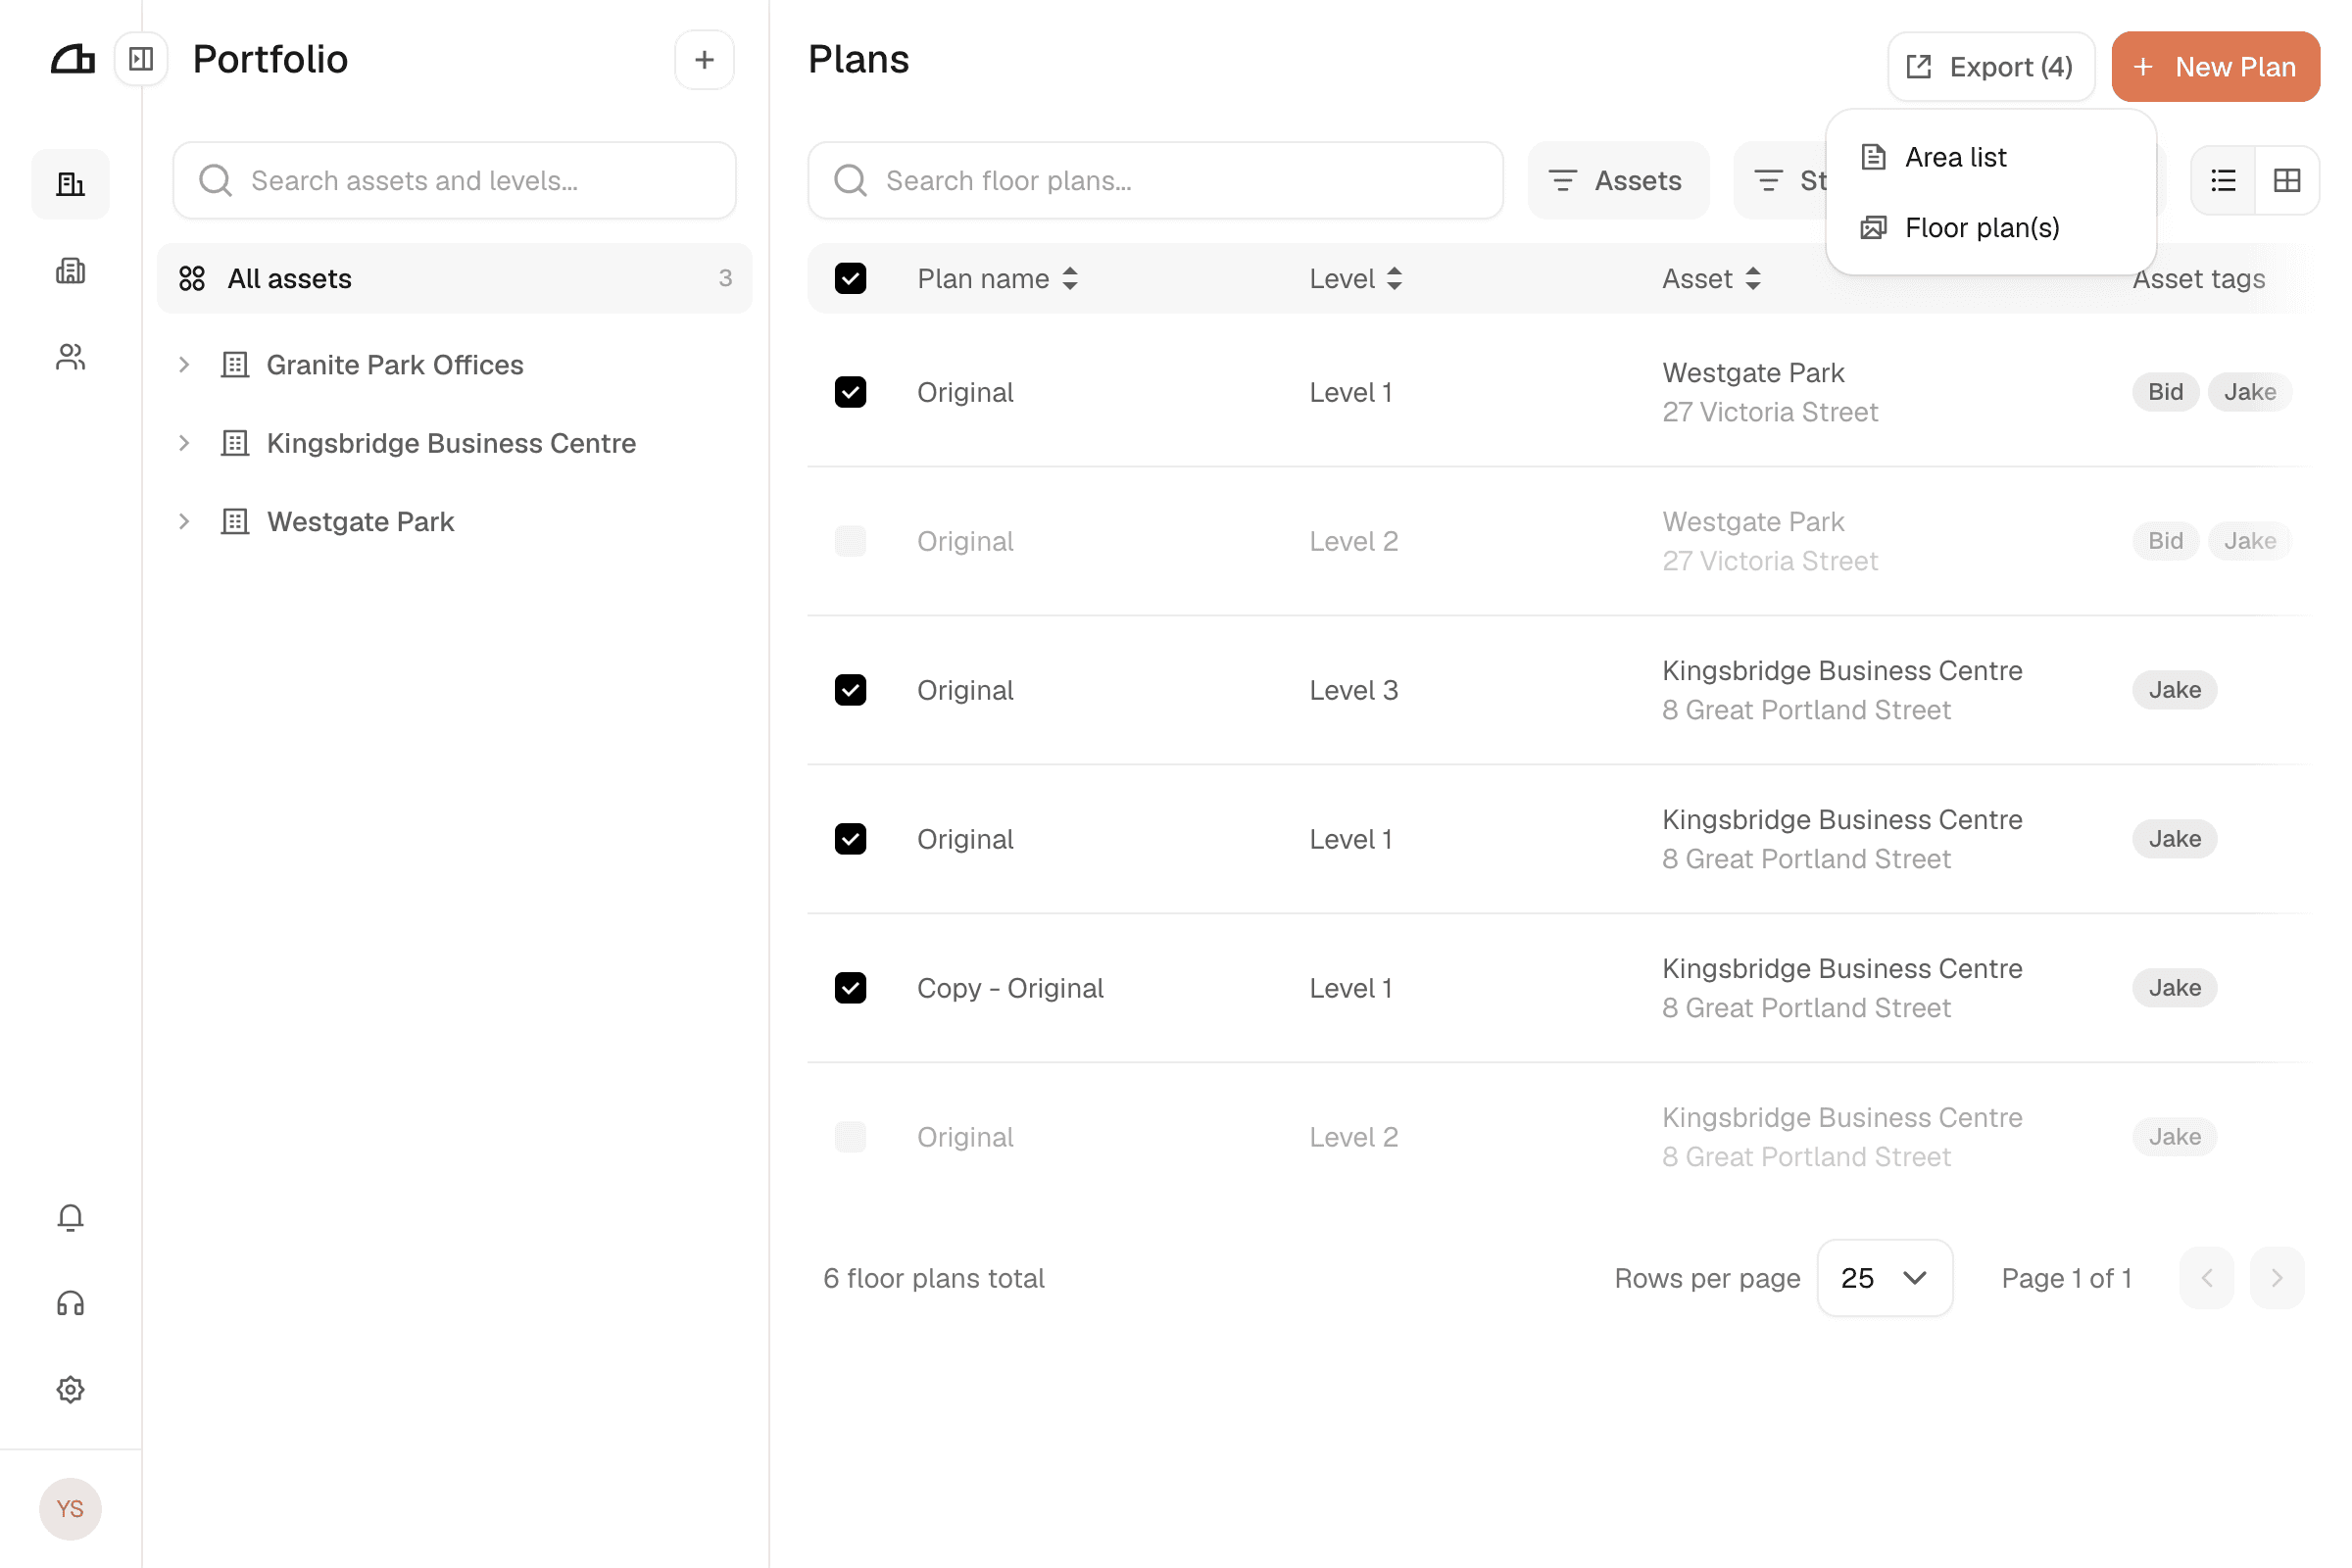
Set up the page
Include in PDF layout adds elements beside the drawing:
- Area statistics: a colour legend for the scheme you selected
- Scale bar: a printed ruler, needed if anyone will measure off the drawing
Pick the scheme to visualise
The dropdown offers room types plus the customised schemes available on the selected plans.
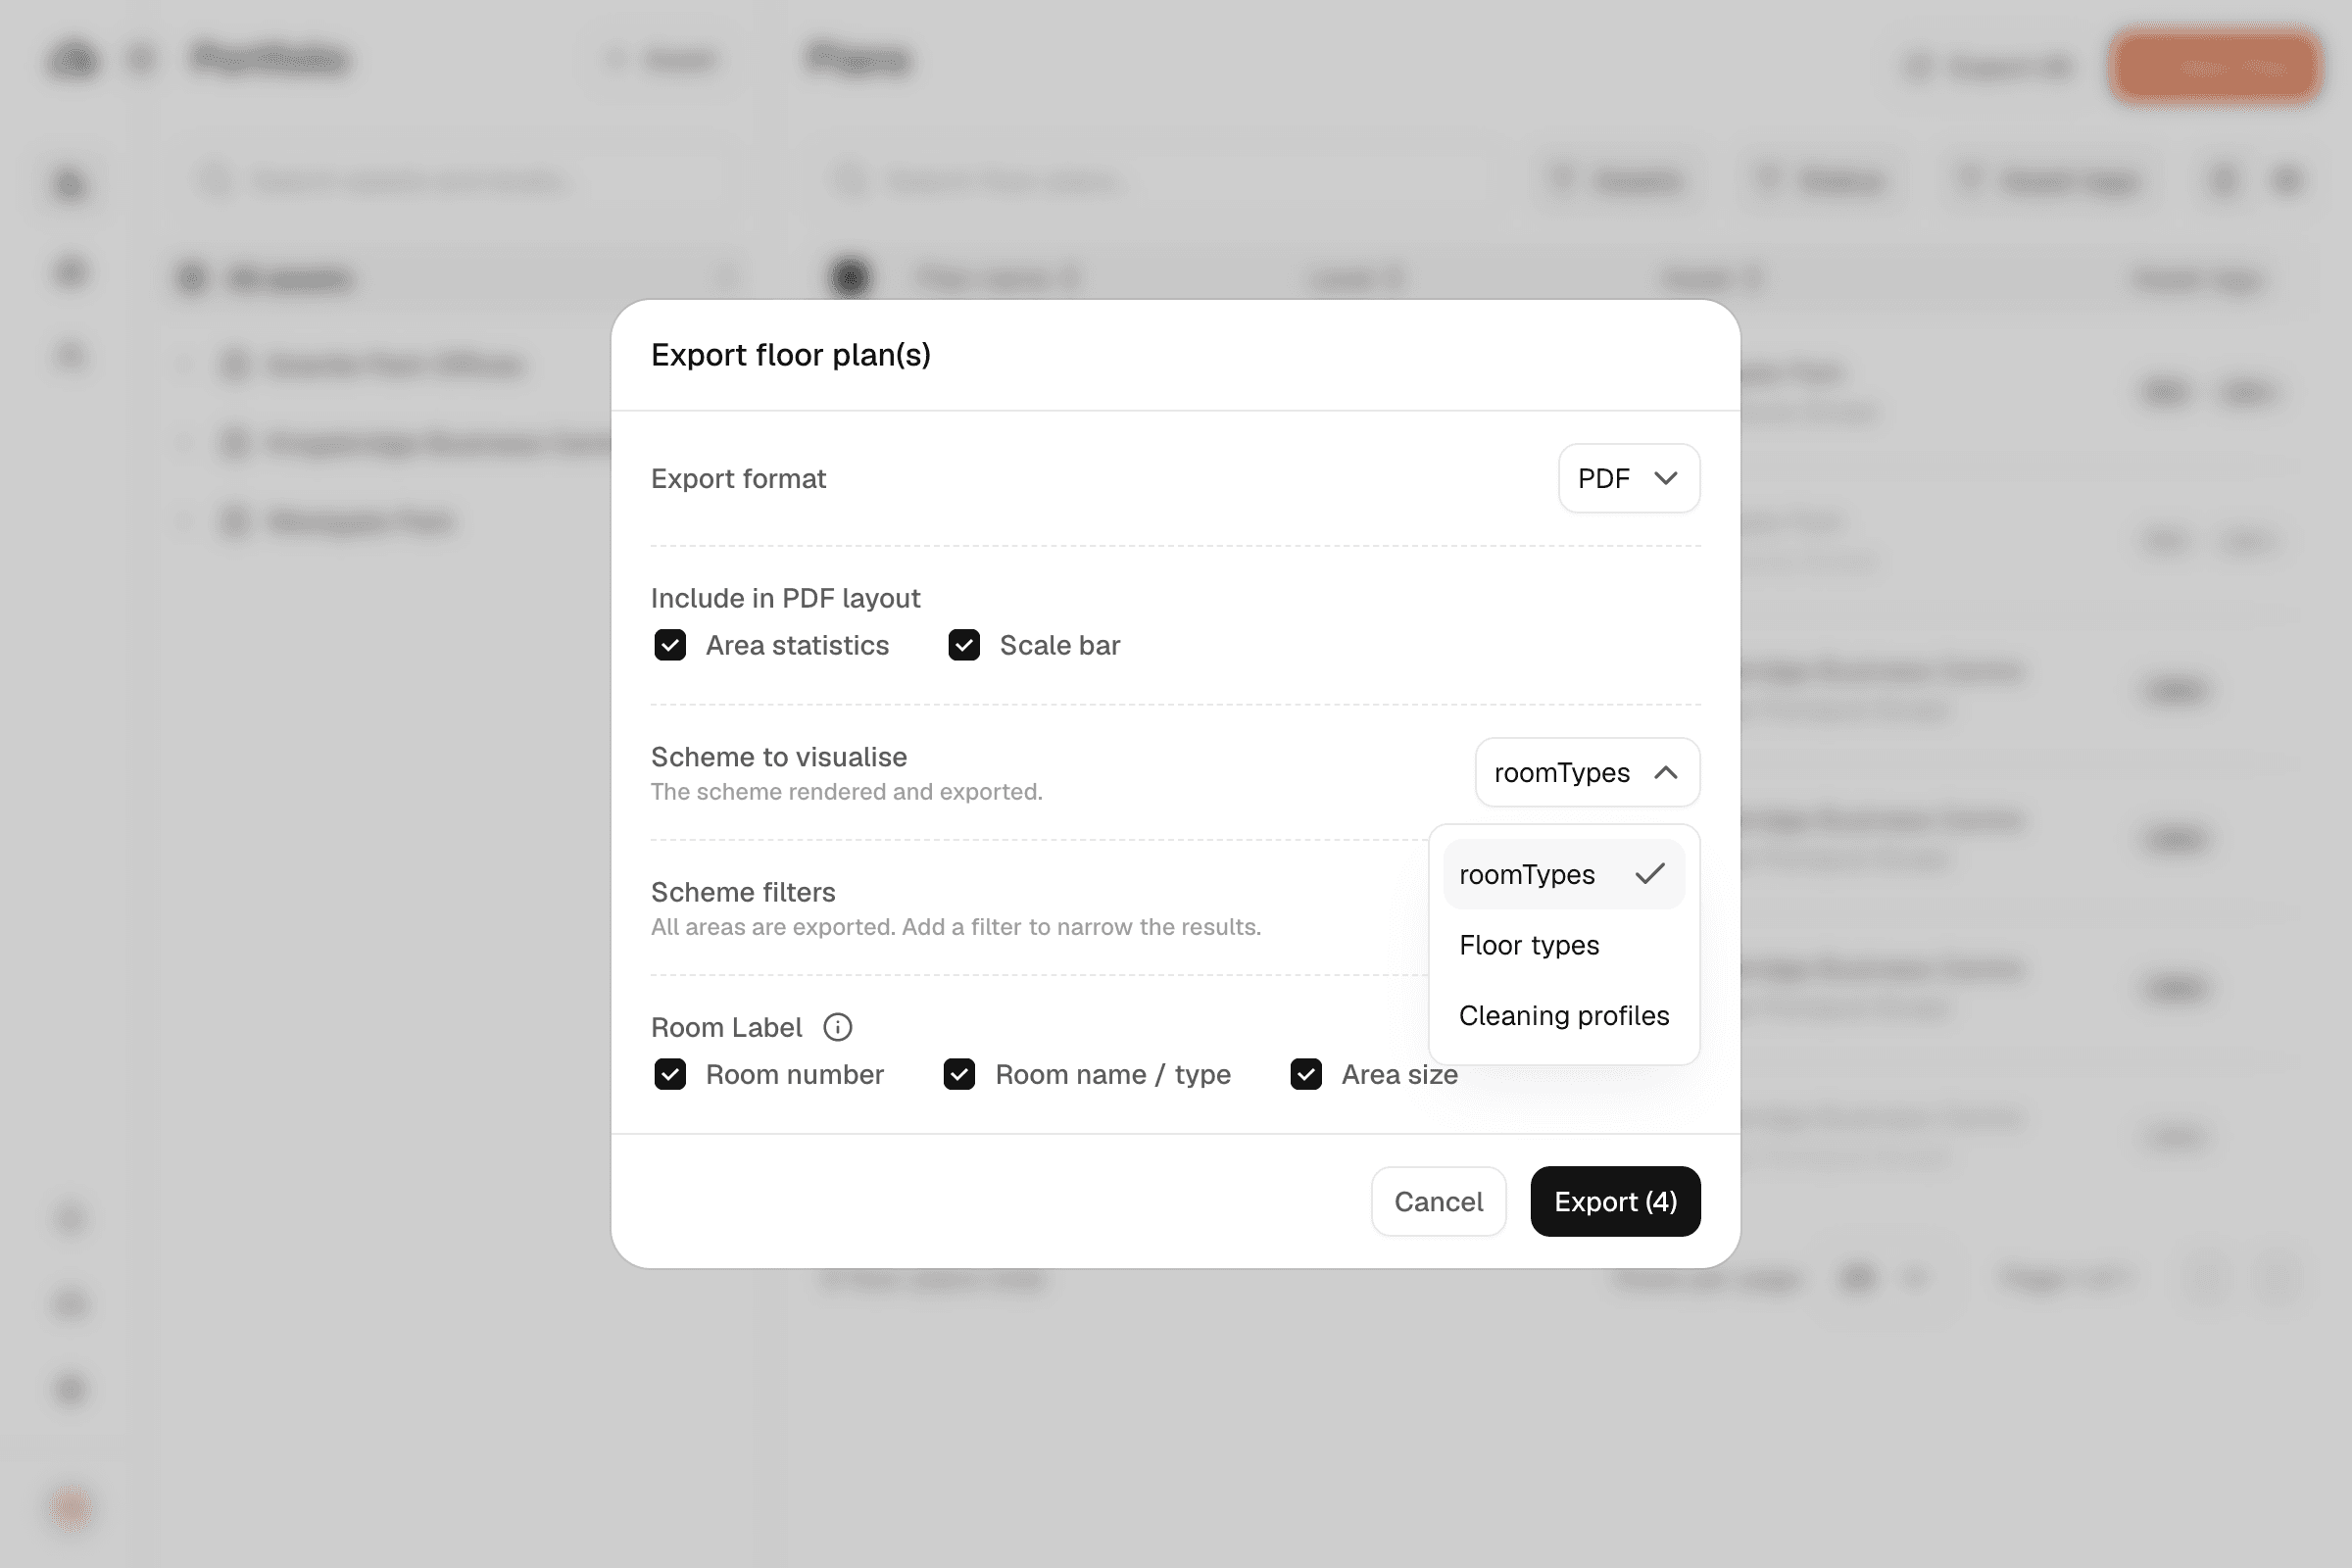
Narrow it with filters
Every area is exported by default. Add filter restricts the export to areas matching a scheme value, such as only Zone A.
Choose the labels
Room Label controls what is printed inside each area: room number, room name and type, and area size, in any combination. Turn some off for a cleaner drawing where the plan is dense.
Export
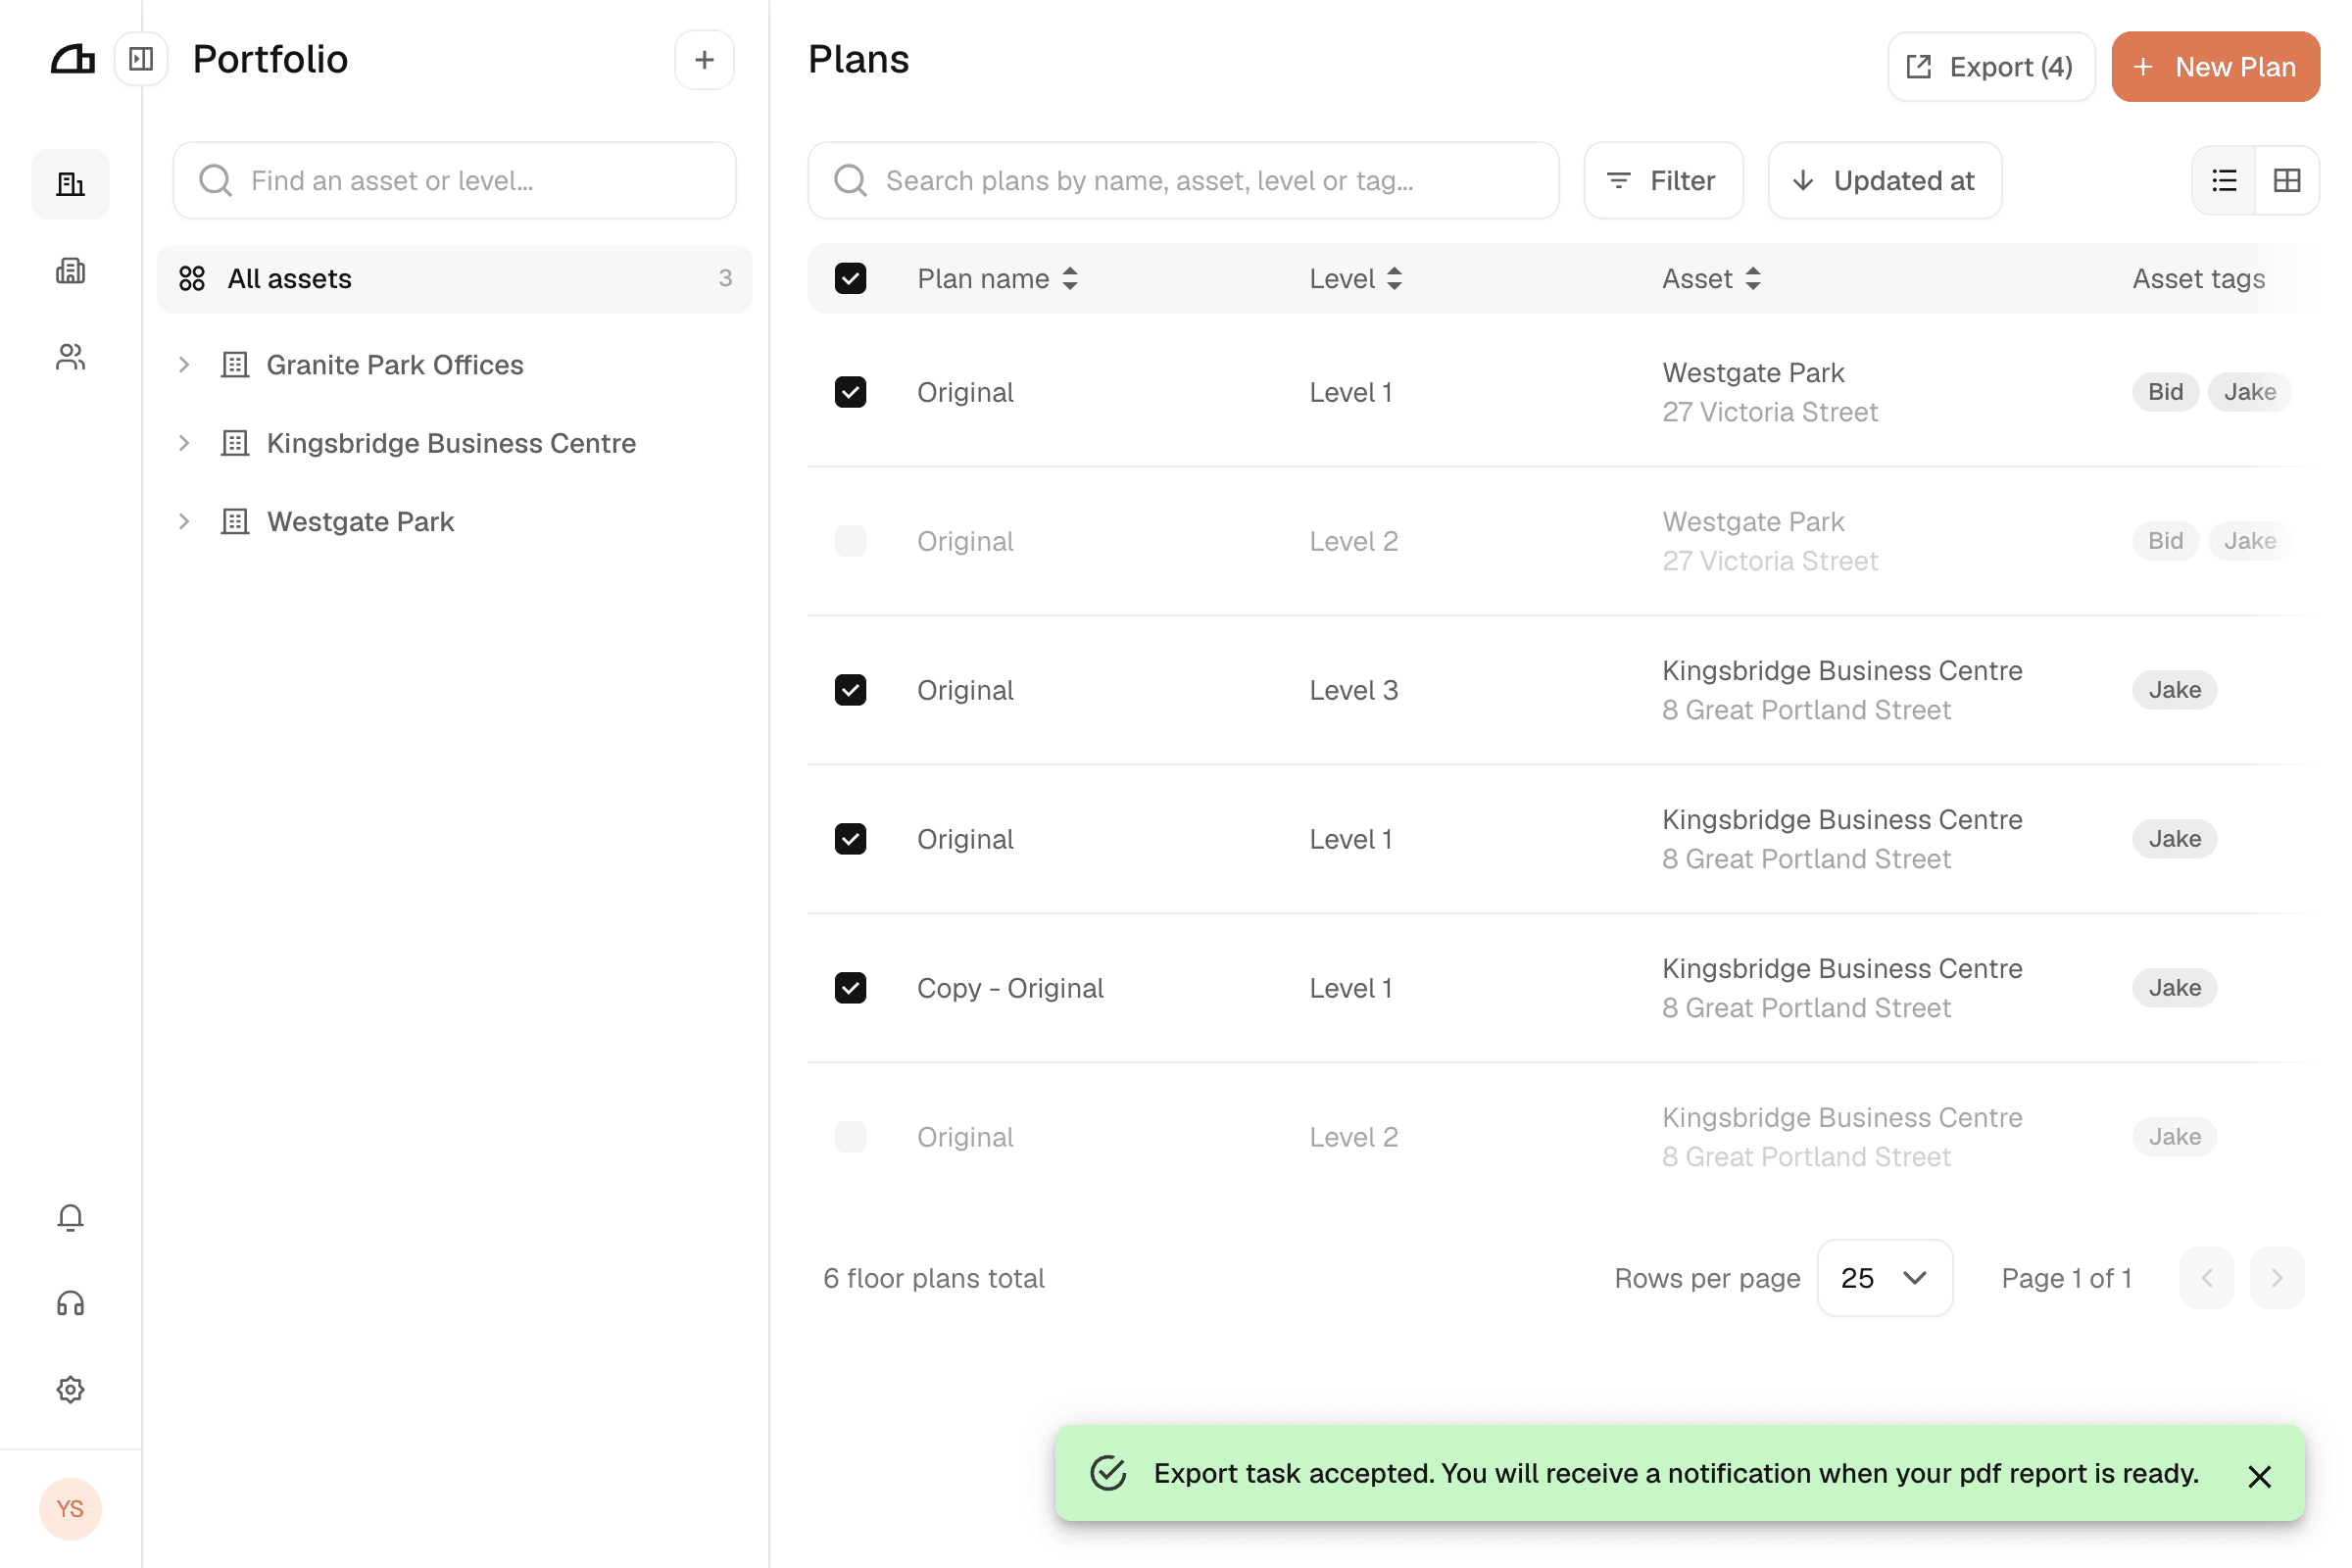
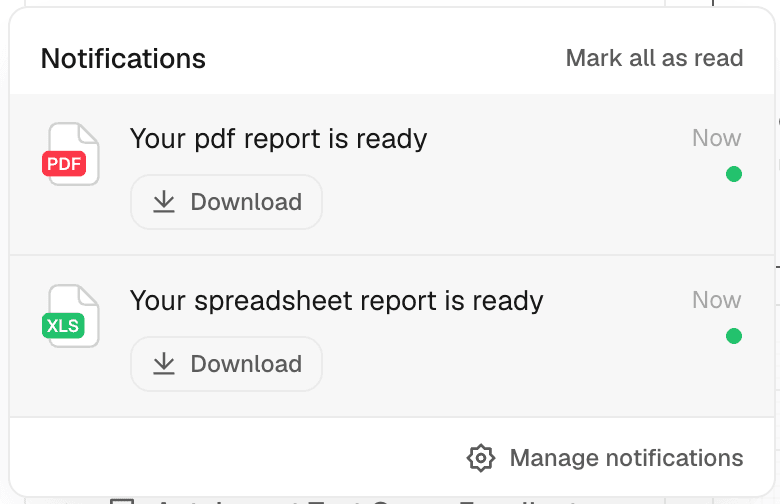
Click Export. A message confirms the job was accepted, and you receive an in-app notification with a download link when the PDF is ready.
Related
- Export an area list, the same areas as spreadsheet data
- Schemes, set up the values you colour and filter by