
Arealize
Tools

Wall

Add walls and area dividers

Steps

Select the wall tool

Open the Draw menu in the bottom centre toolbar. Choose the Wall tool there. You can also use the shortcut W.
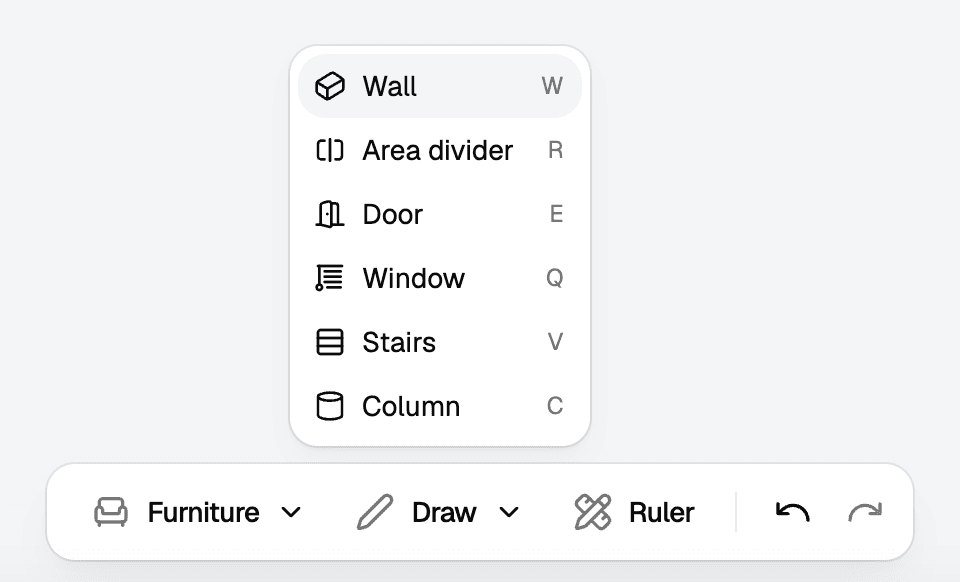
The Draw menu open with Wall selected, above the bottom centre toolbar

Place the wall

Click once to start the wall, and click again to finish. You can also hold down [Shift] to continue the wall.
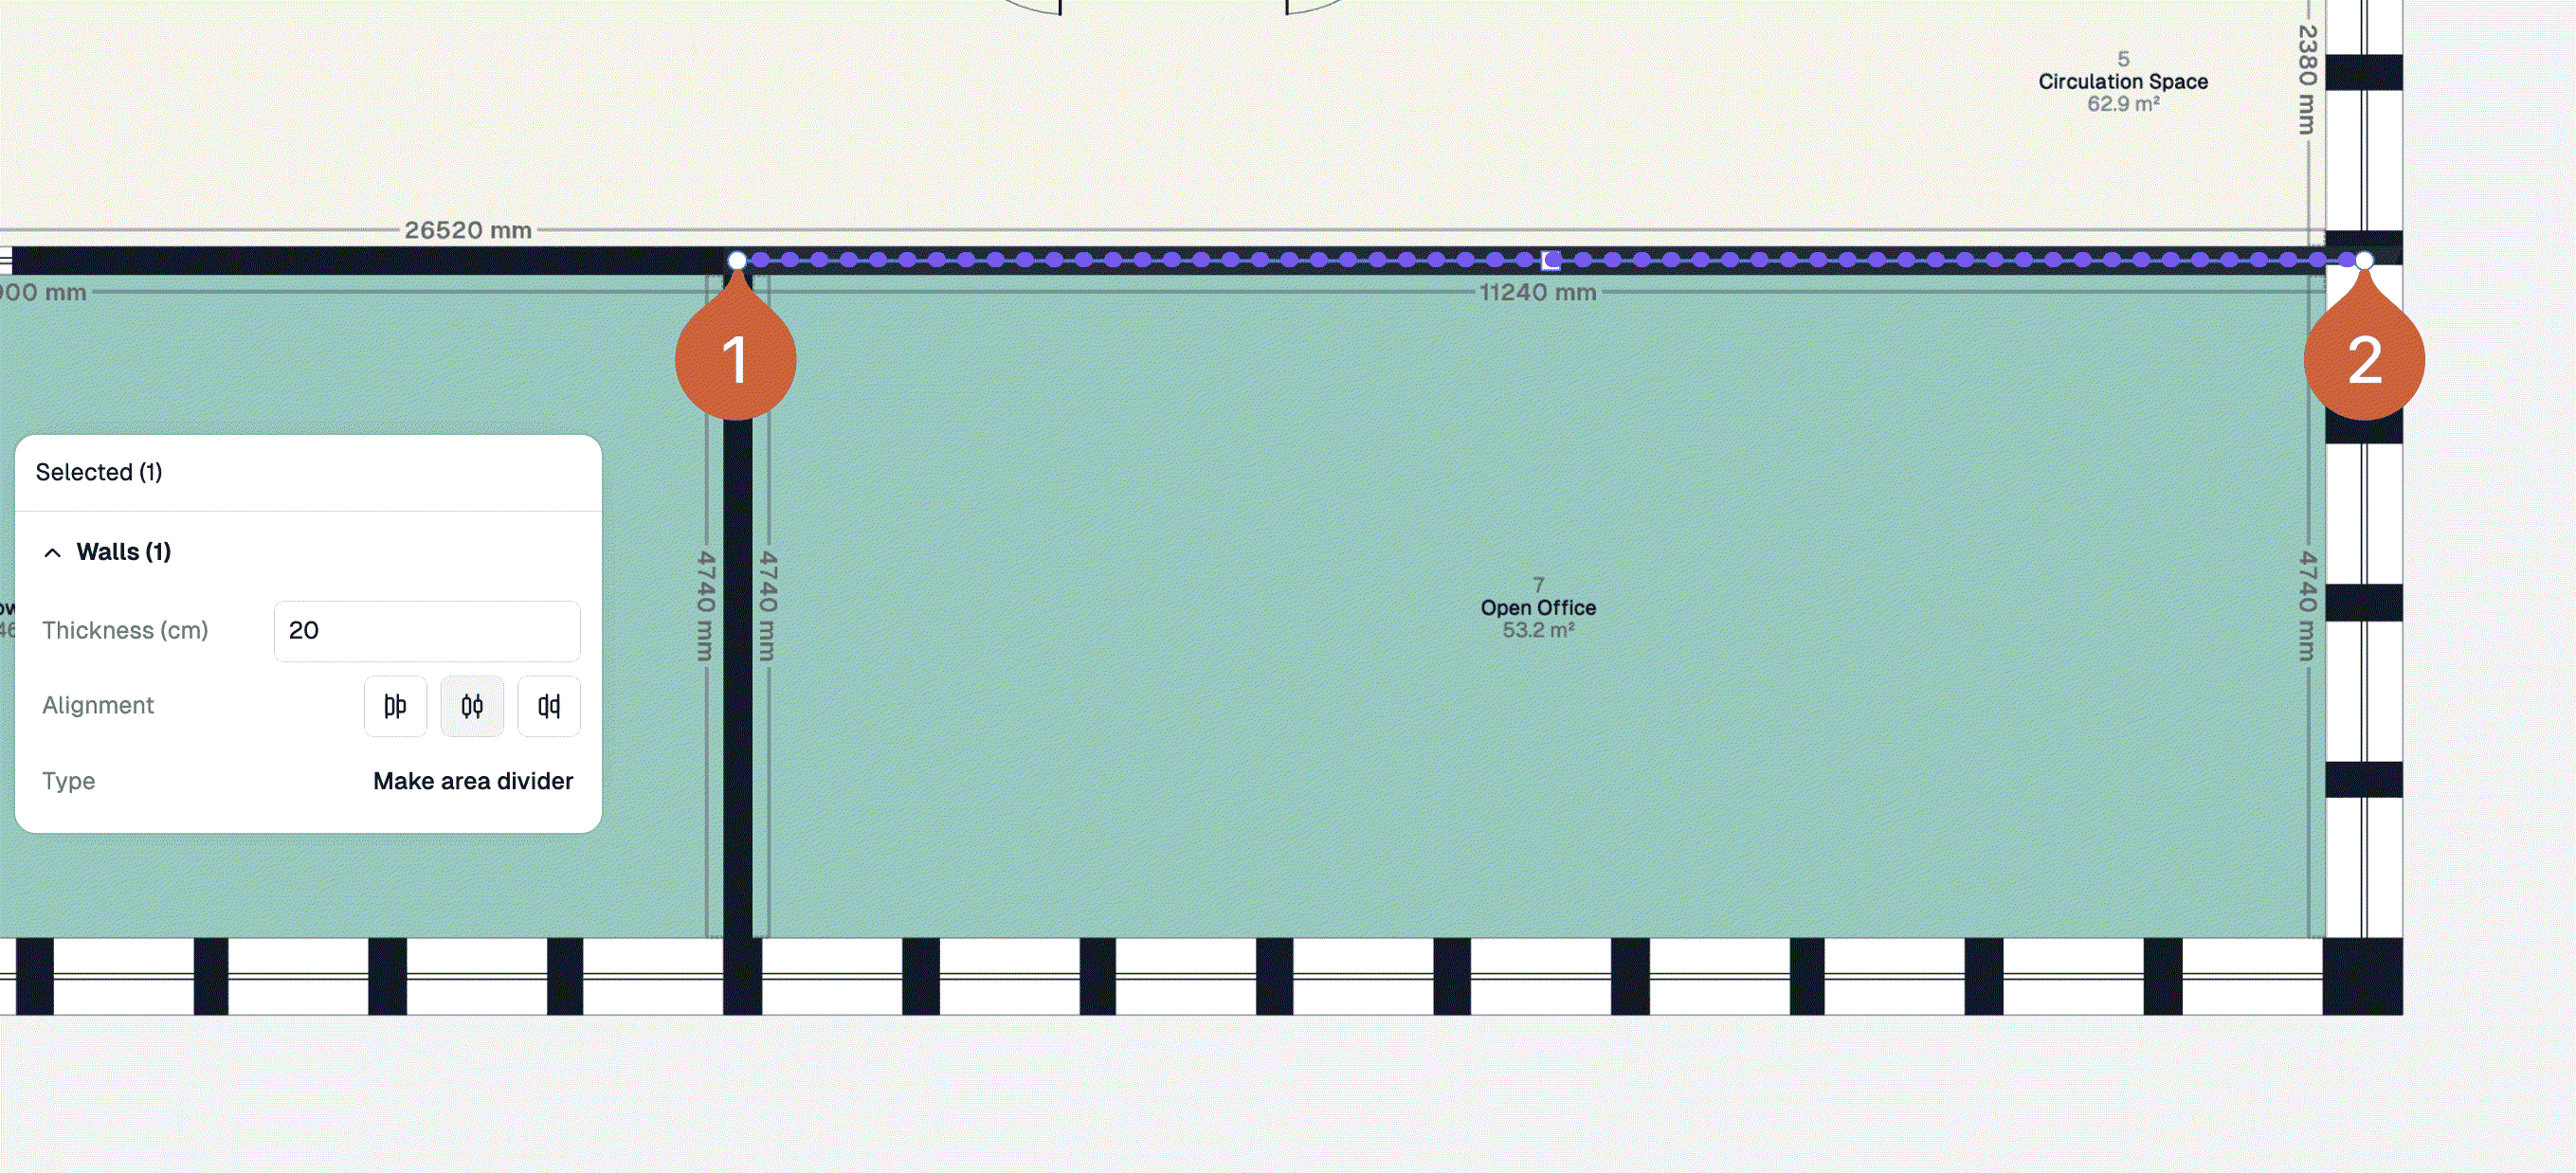
A wall drawn along the top of an open office area, with markers at the first and second click and the properties panel showing Walls (1)

Configure the wall

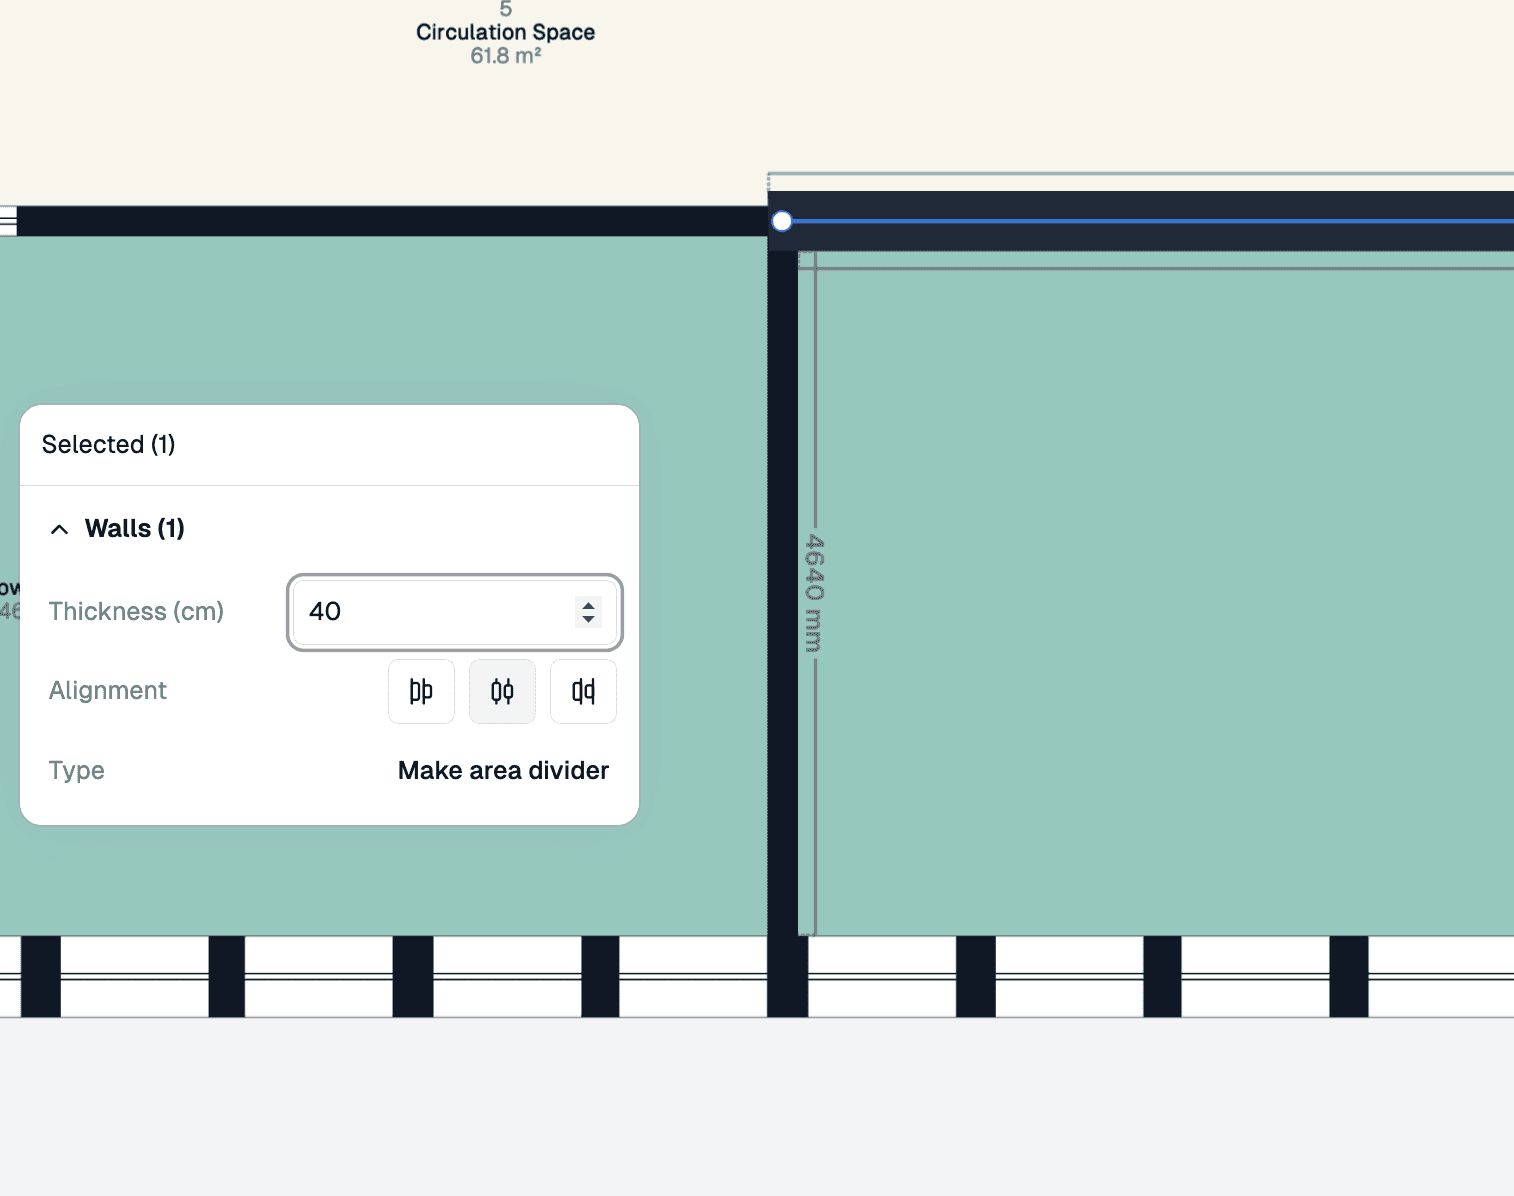
Change thickness of the wall using the property panel.

The properties panel for the selected wall, with Thickness set to 40 cm alongside the Alignment and Type controls

Area dividers

Area dividers should be used to split up an area without introducing a physical wall. This is useful for creating logical divisions within a space while maintaining visual separation.
Select area divider

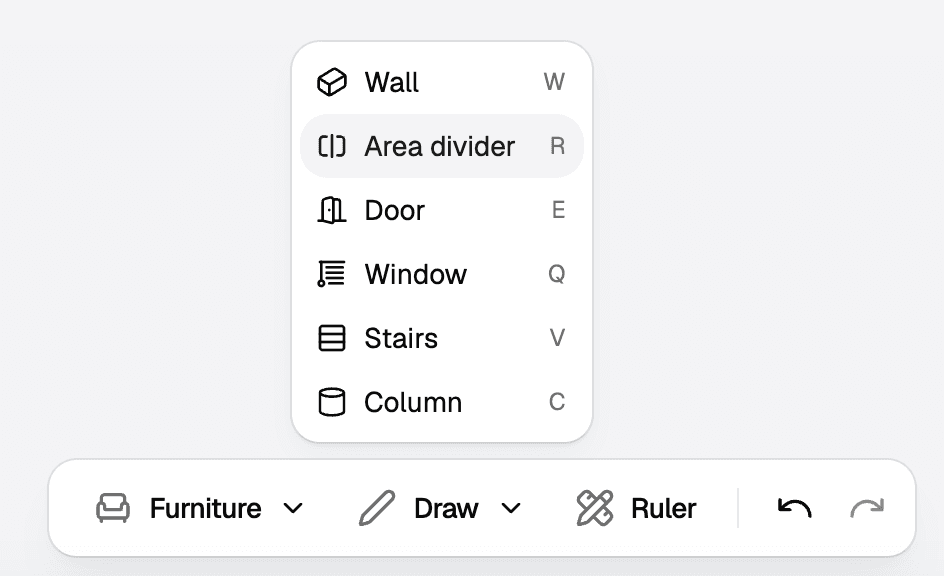
Select Area divider from the Draw menu, or press the shortcut R.

The Draw menu open with Area divider selected, above the bottom centre toolbar

Draw the divider line

Click to start the divider line and click again to end the divider line. Hold "Shift" key to continue drawing.
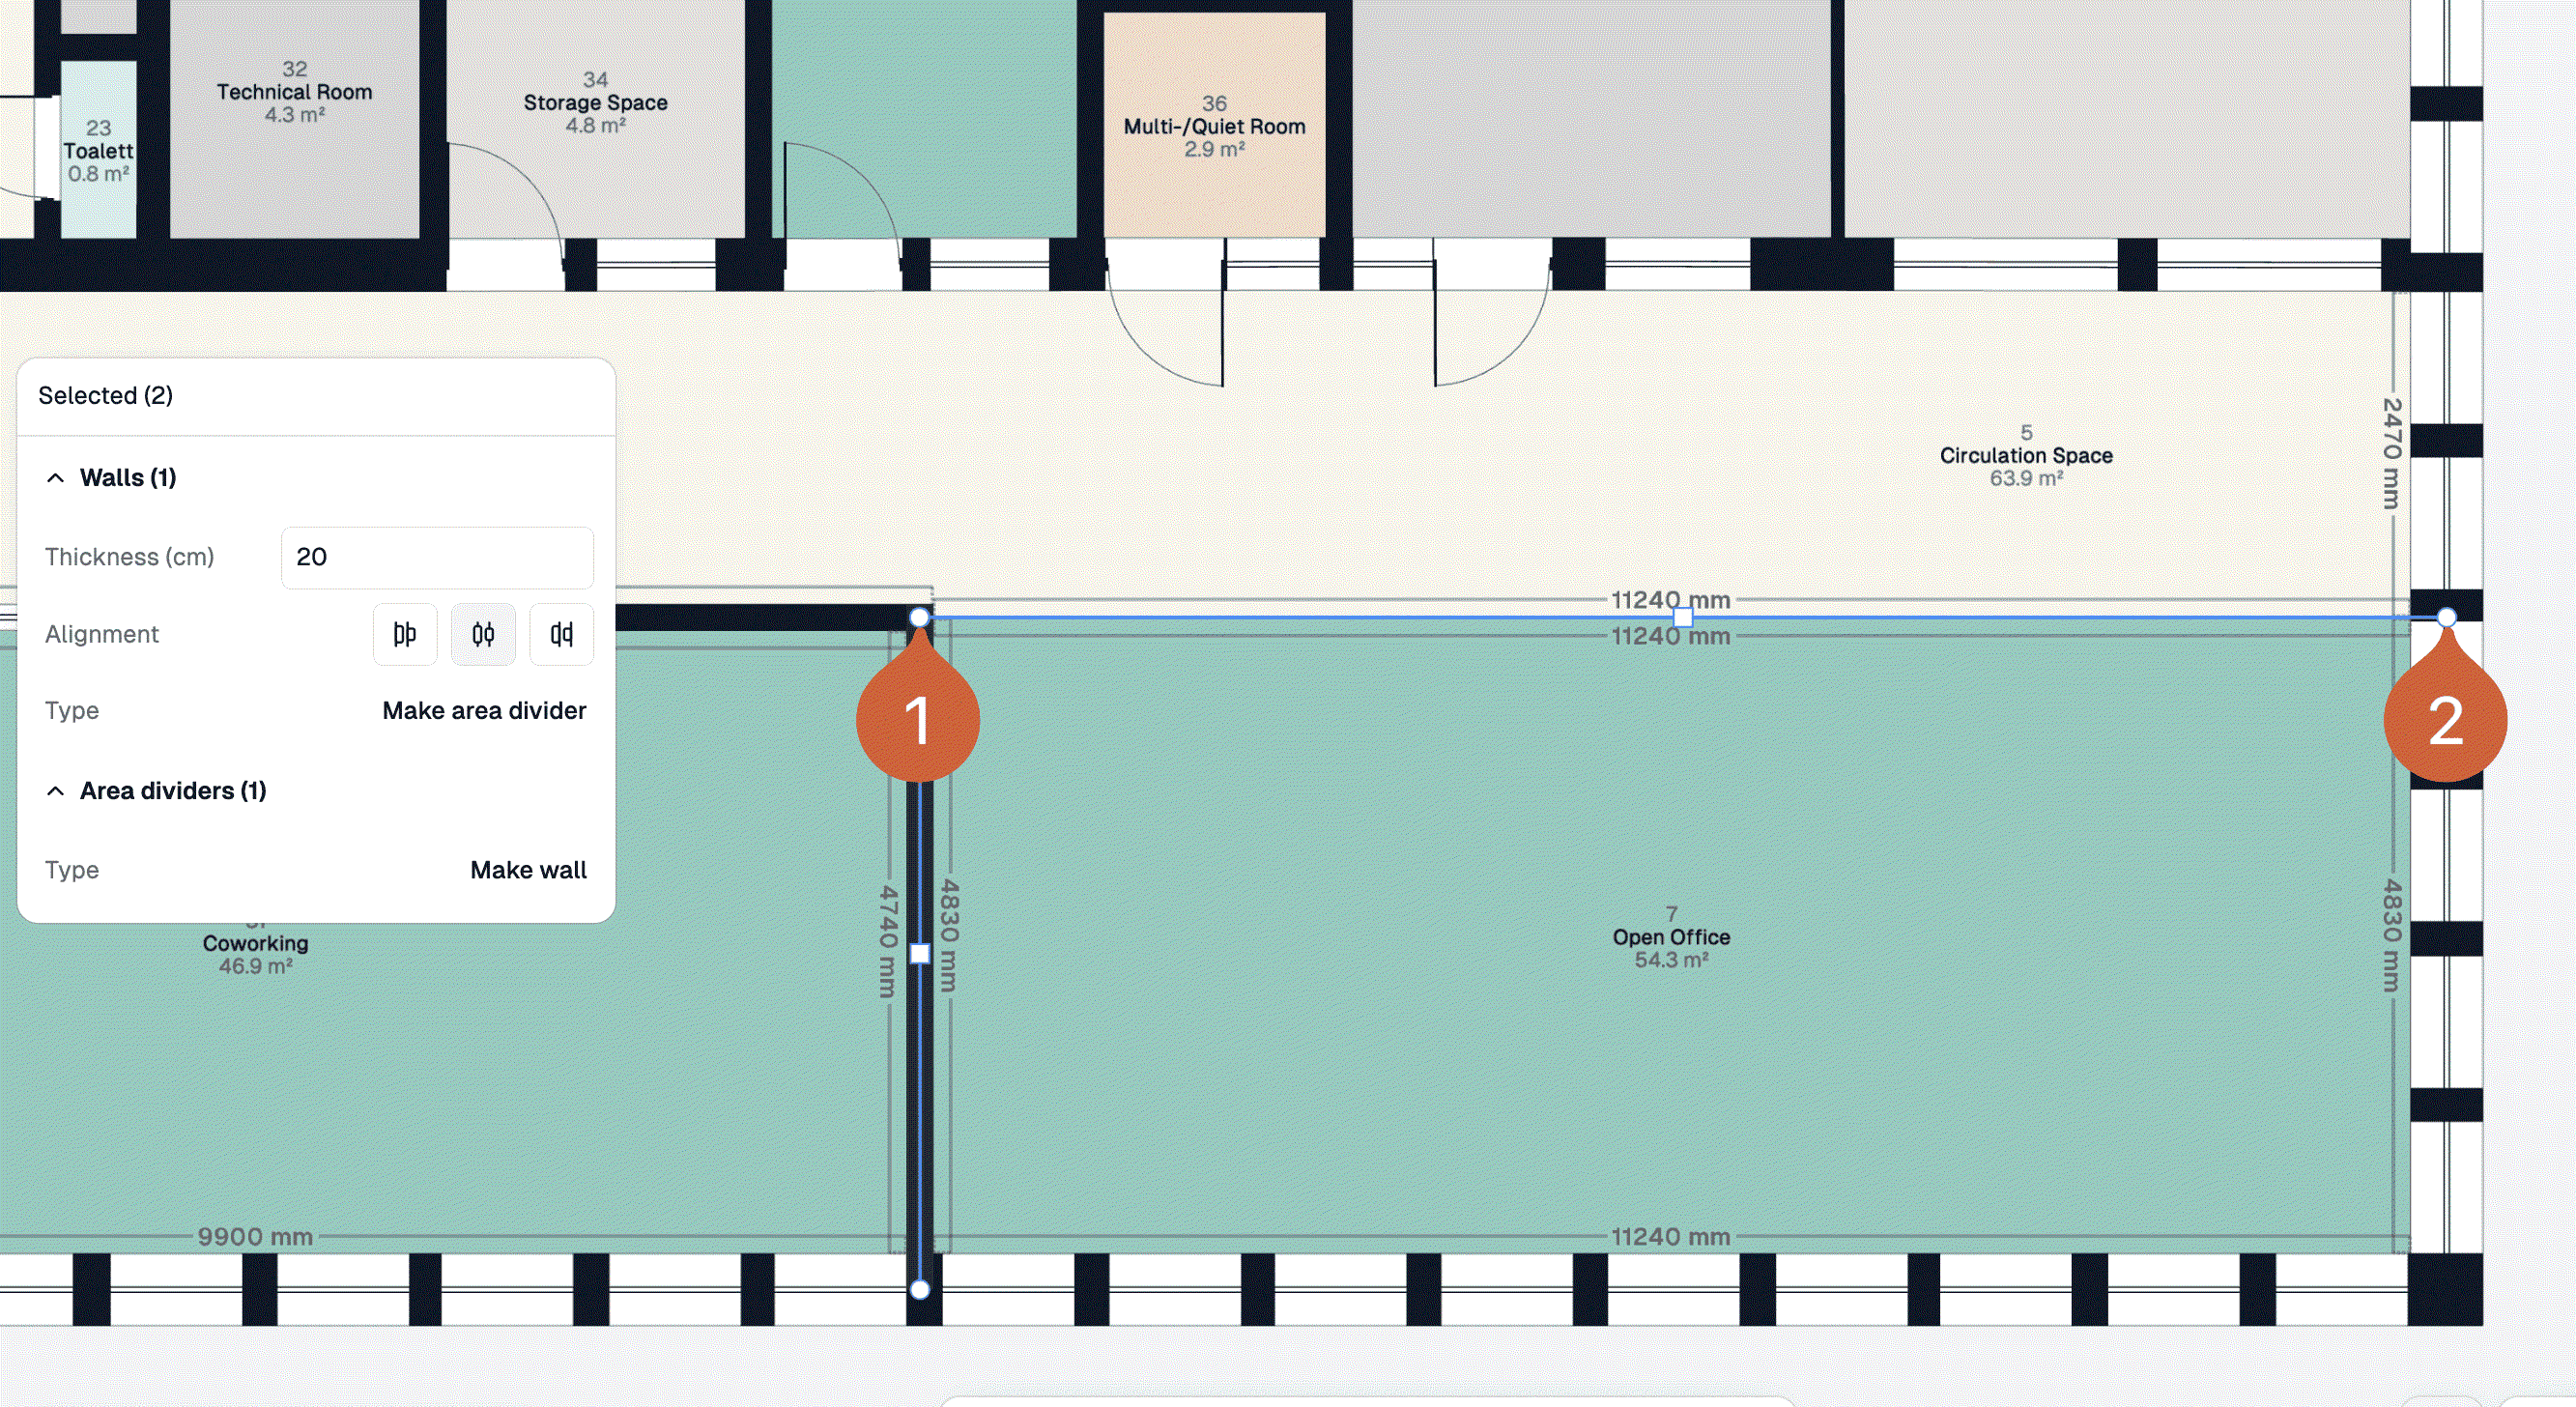
An area divider drawn across an open office, with markers at the first and second click and the properties panel listing Walls (1) and Area dividers (1)

Troubleshooting

On this page